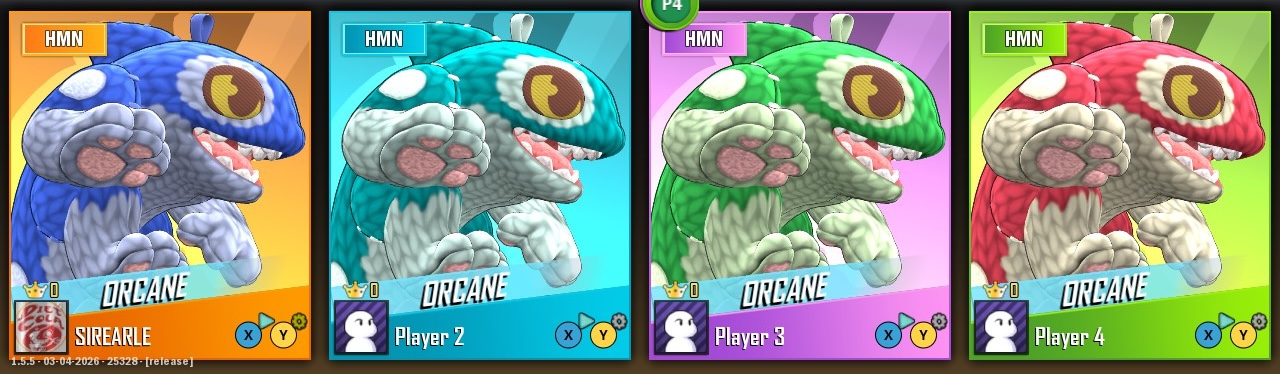
Orcane
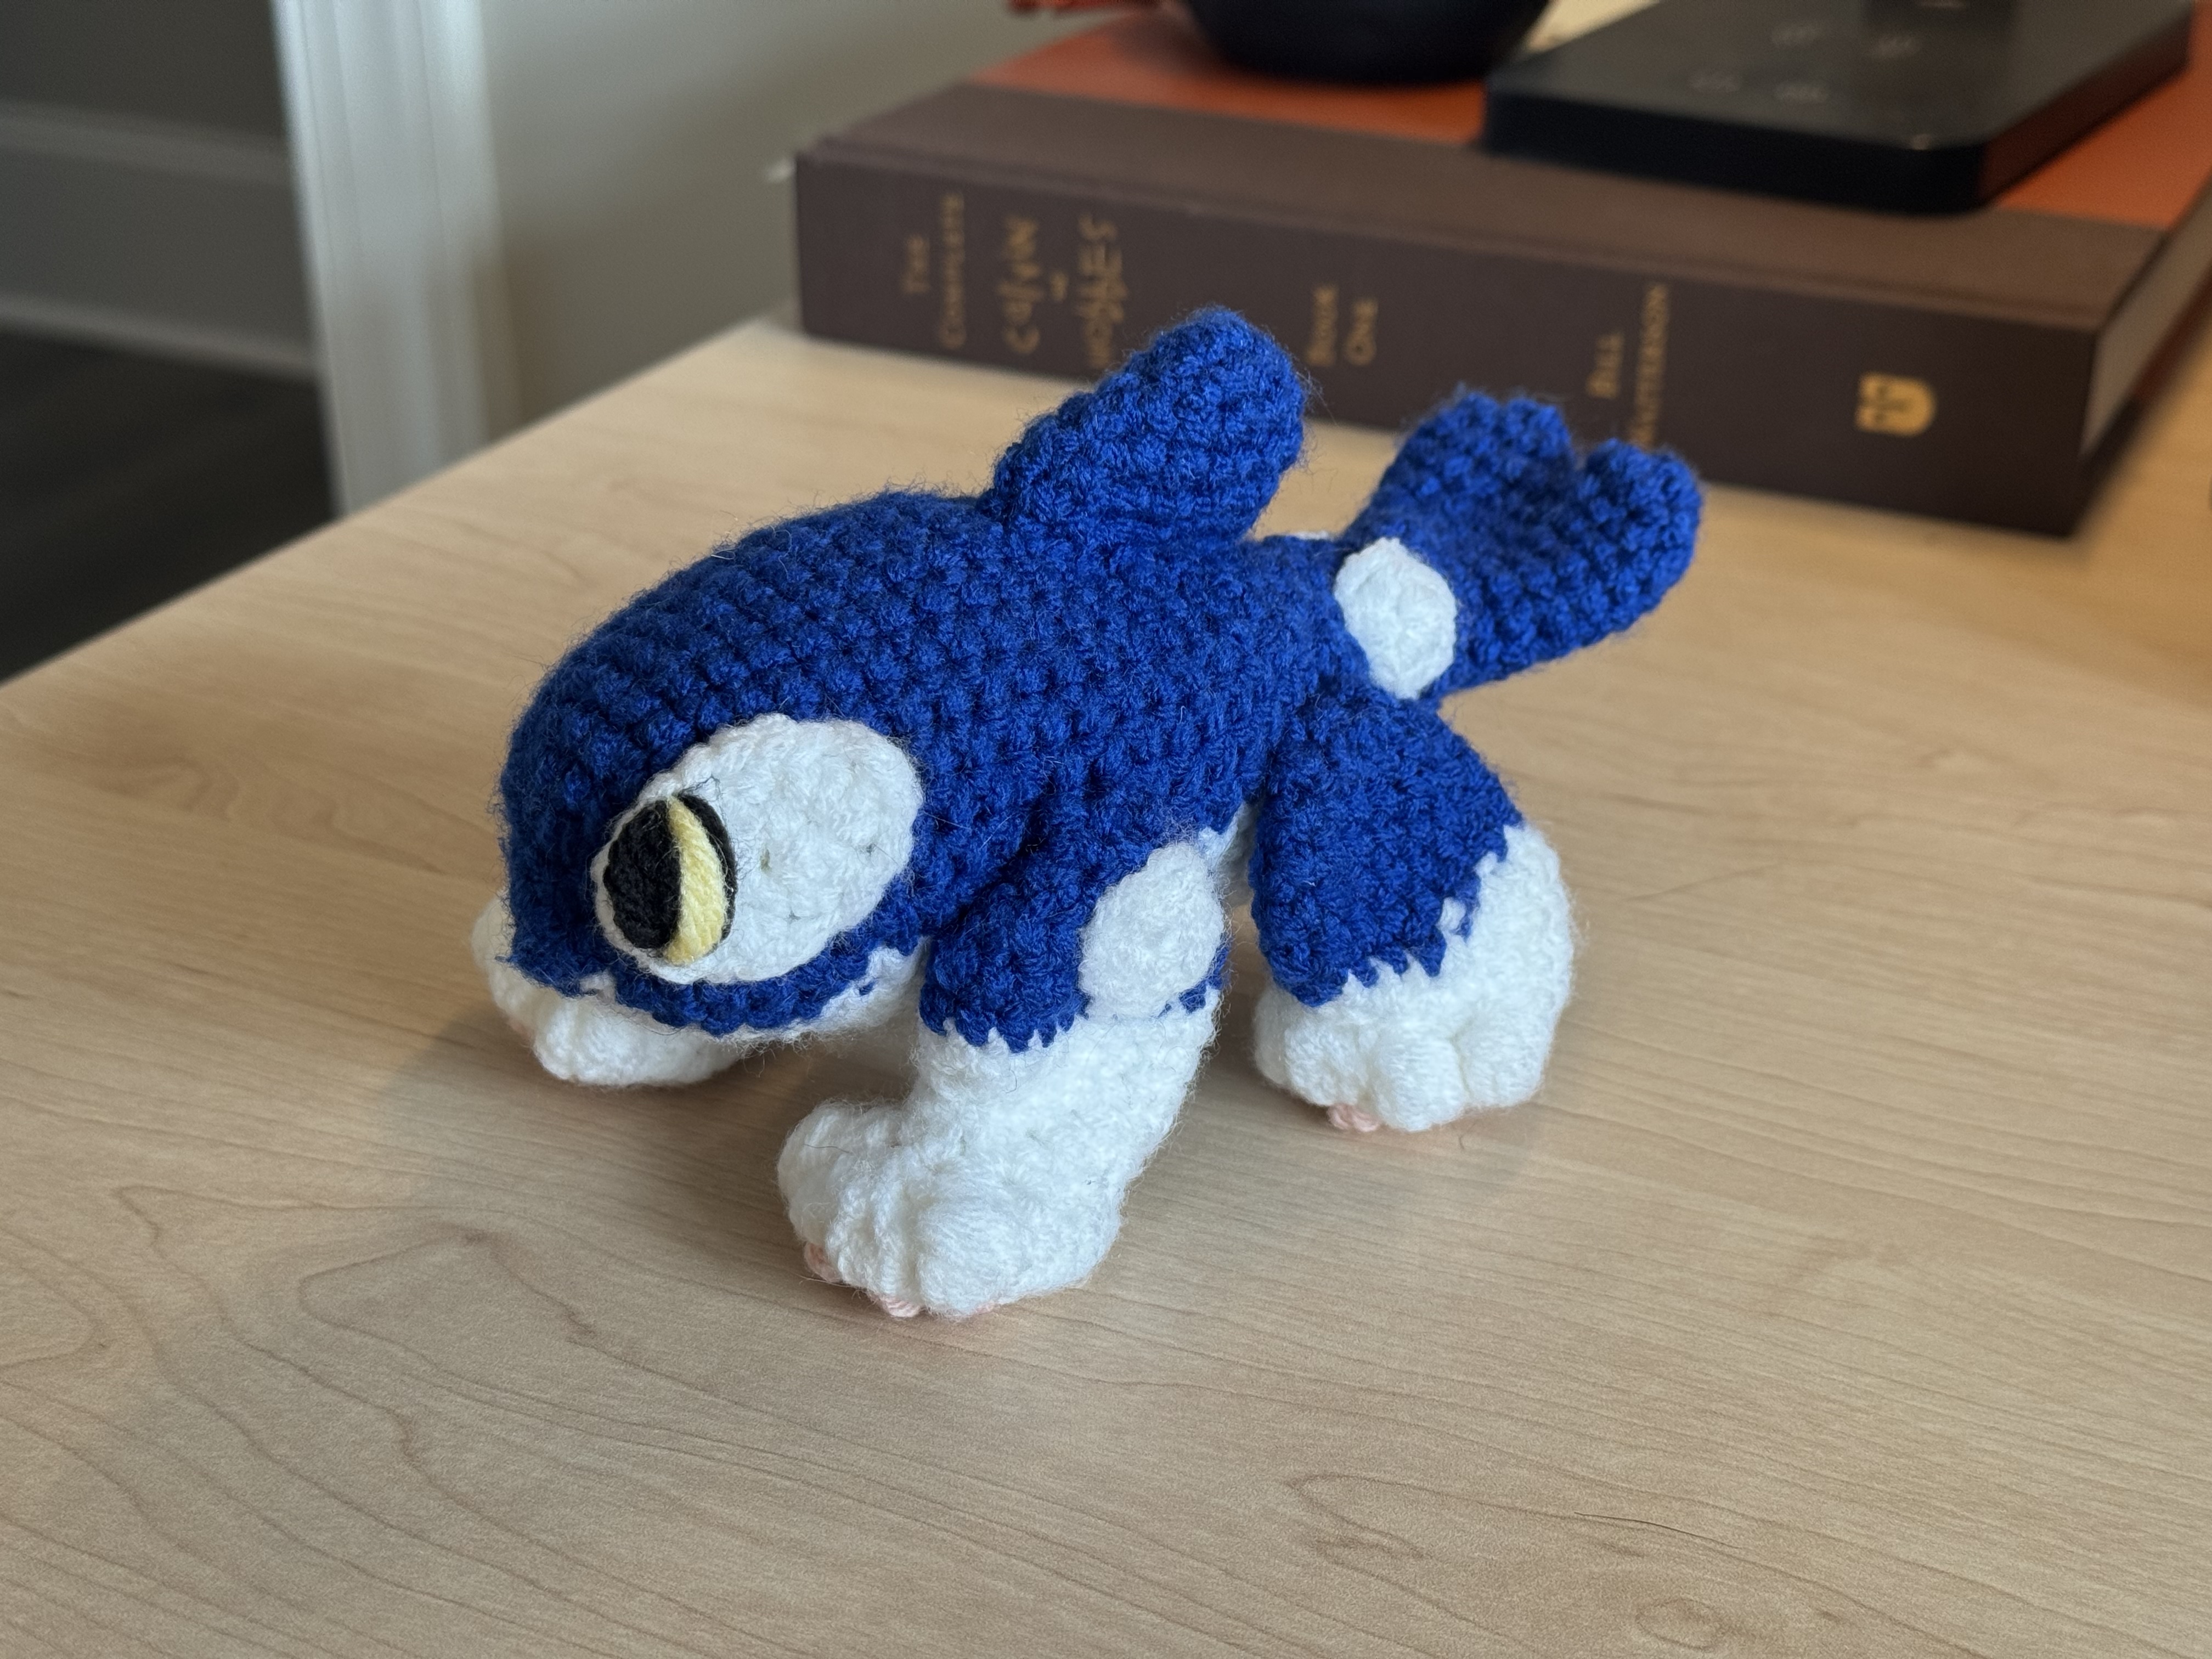
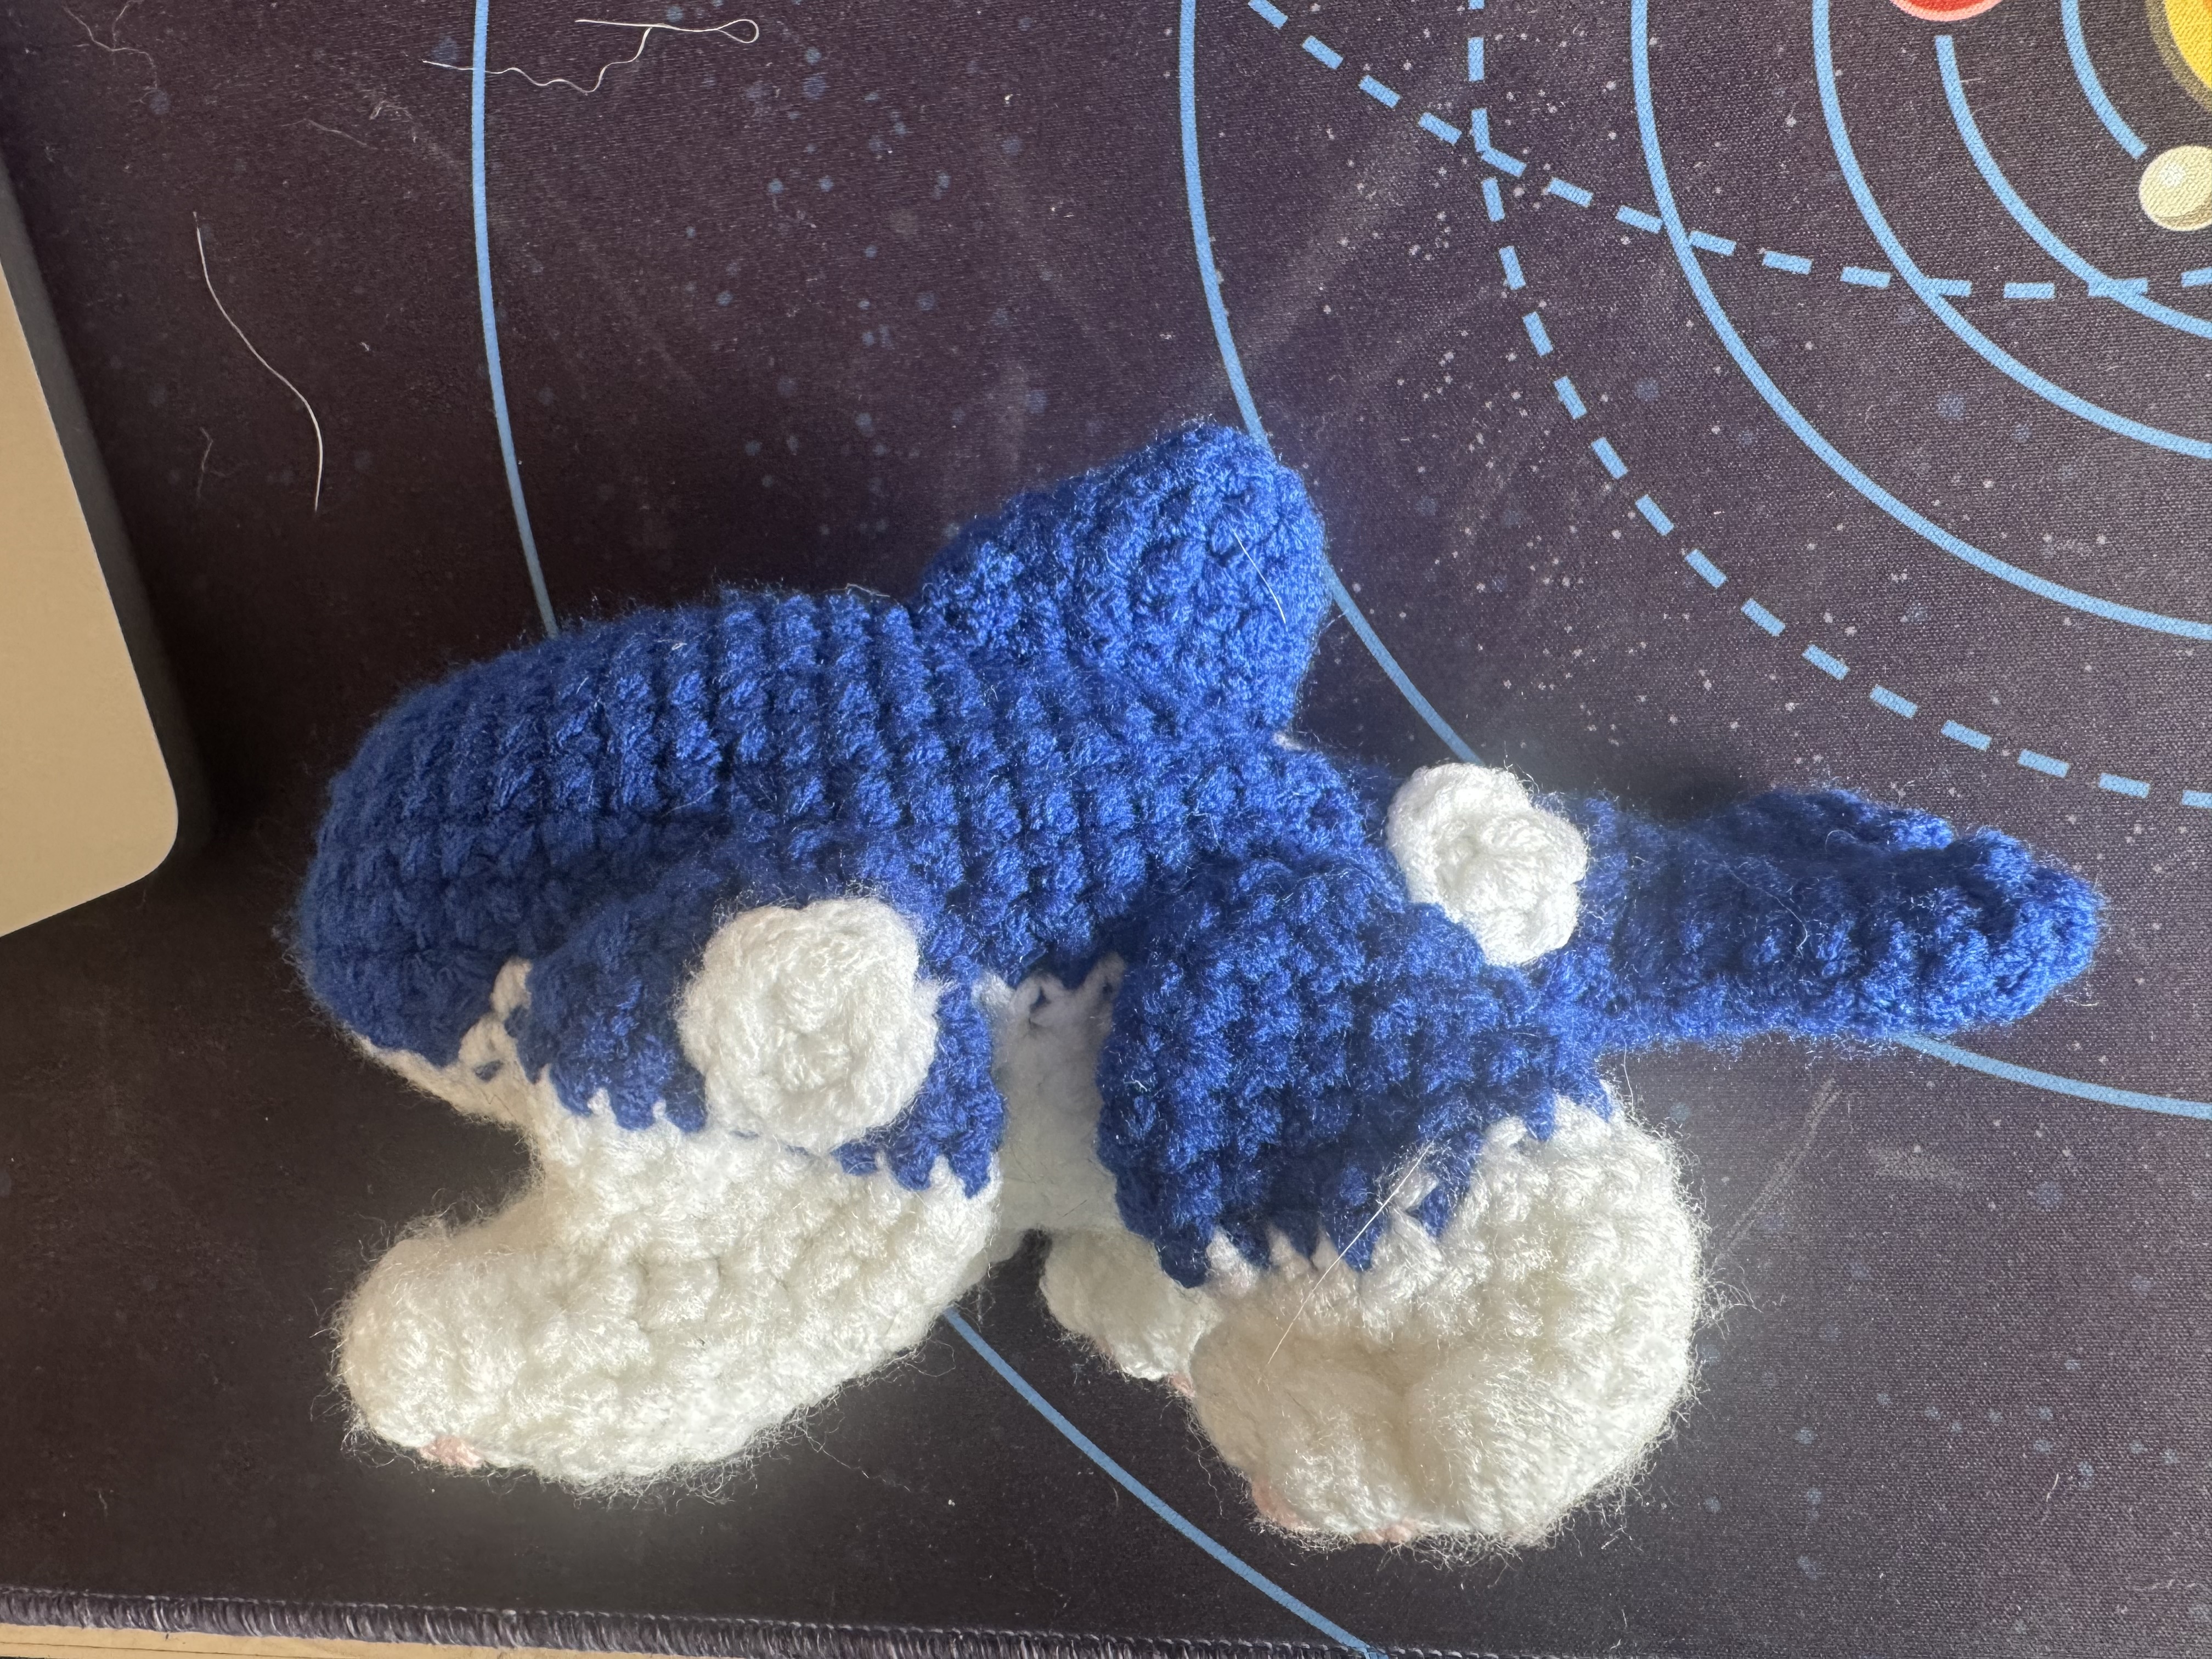
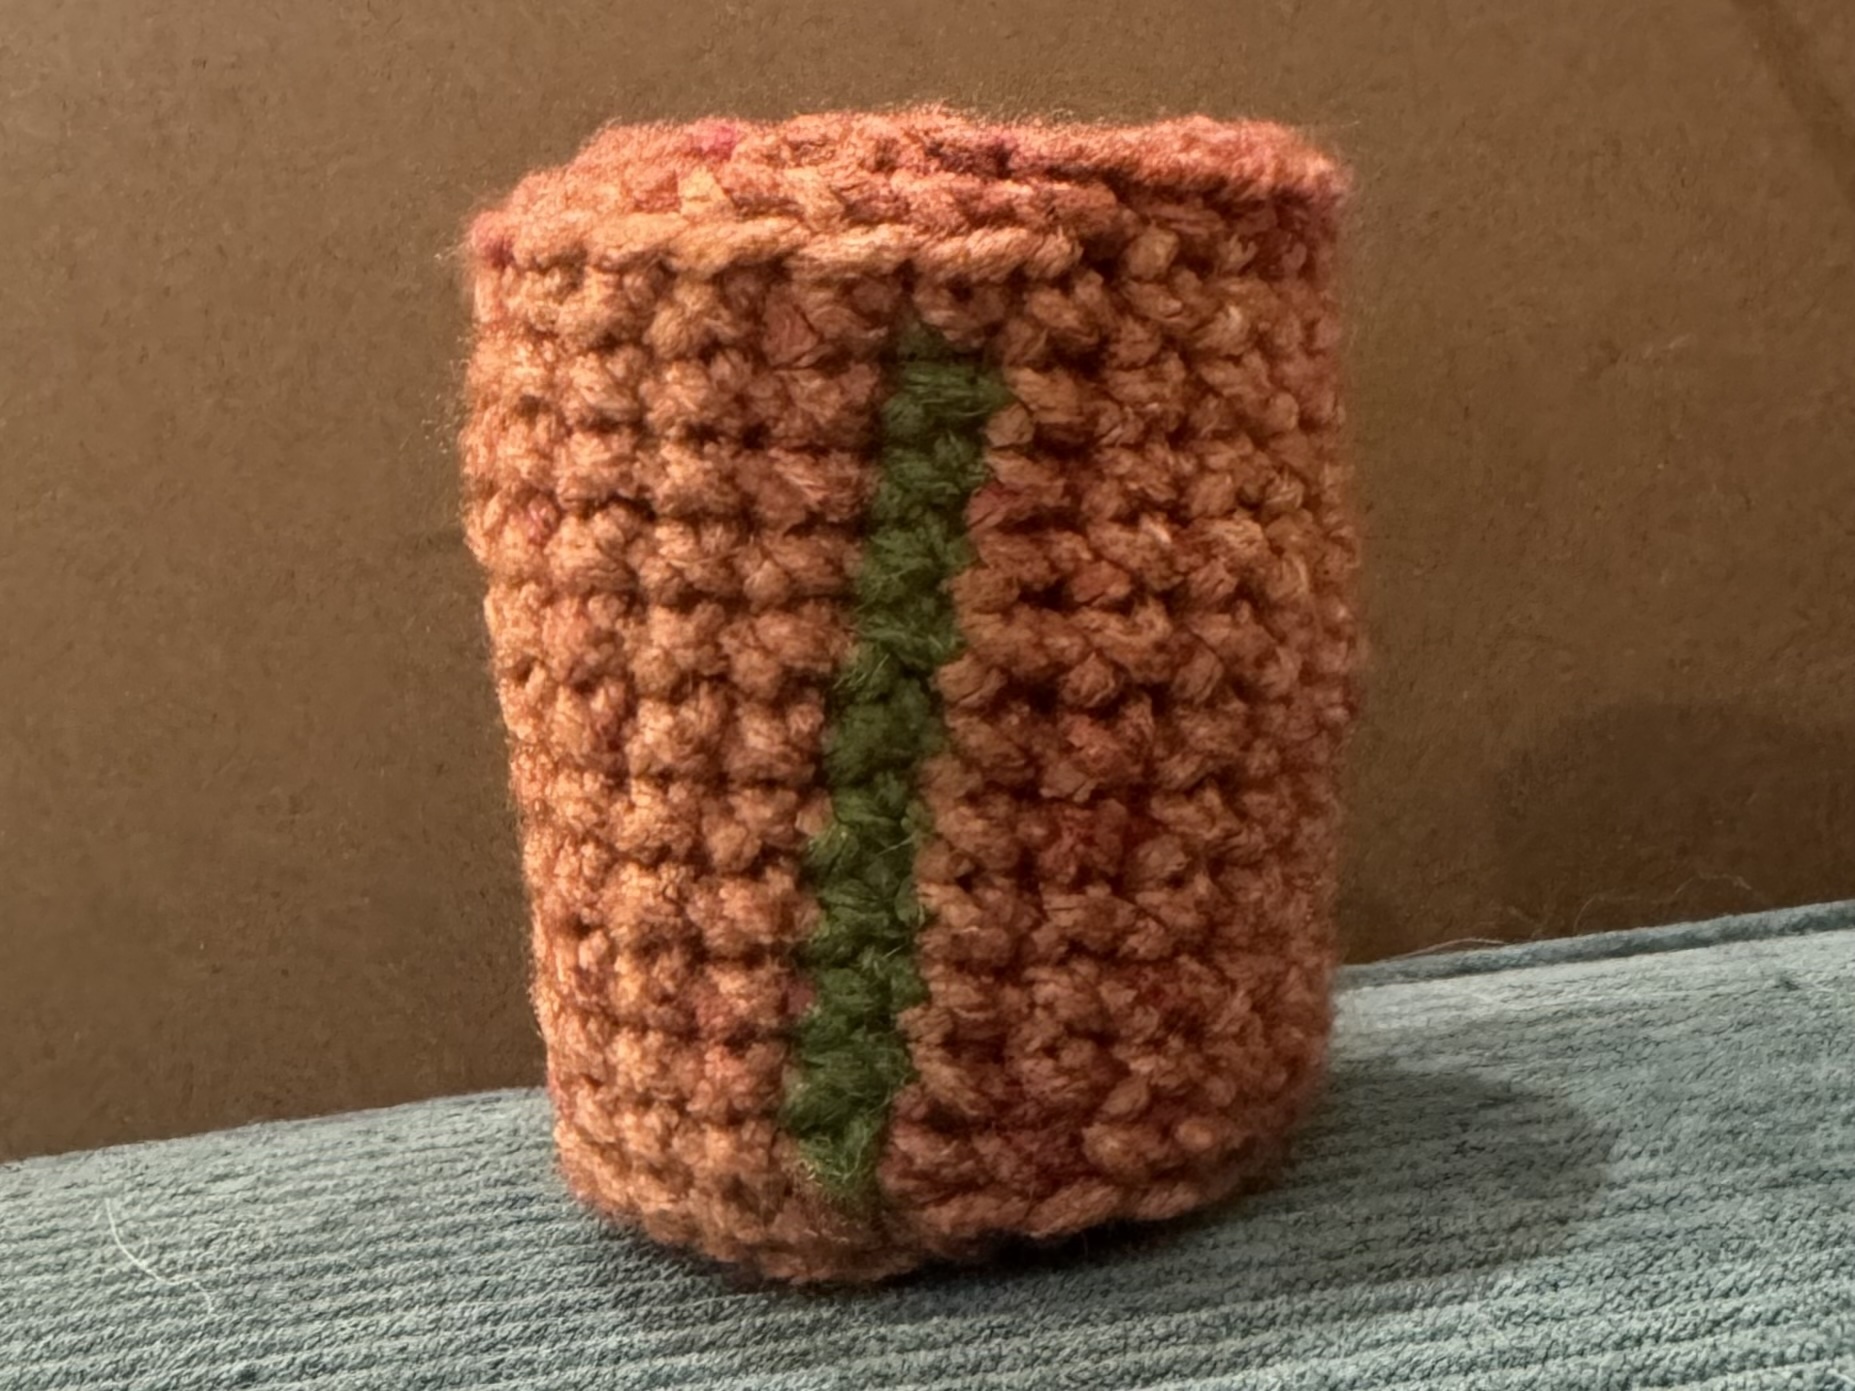
Orcane is the lovable-trickster-orca-dog, who is a featured character in Rivals of Aether 2, a game which I have been enjoying a lot lately. After seeing that a plush of Orcane that was released a few months ago came with an in-game yarn skin, I knew that I had to recreate it in crochet.
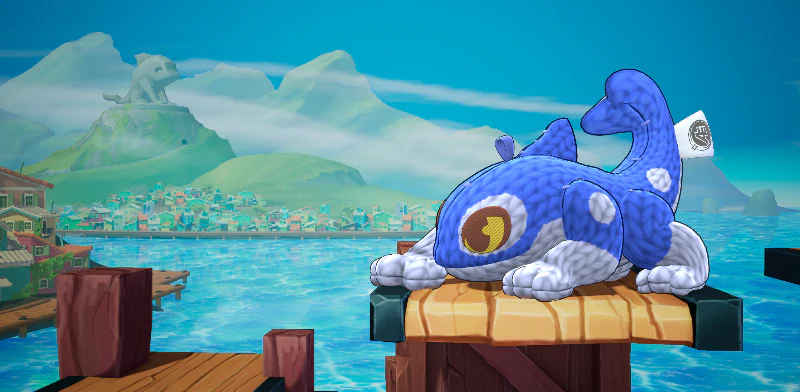
Yes, I know the texture looks more knit than crochet, but I can't knit
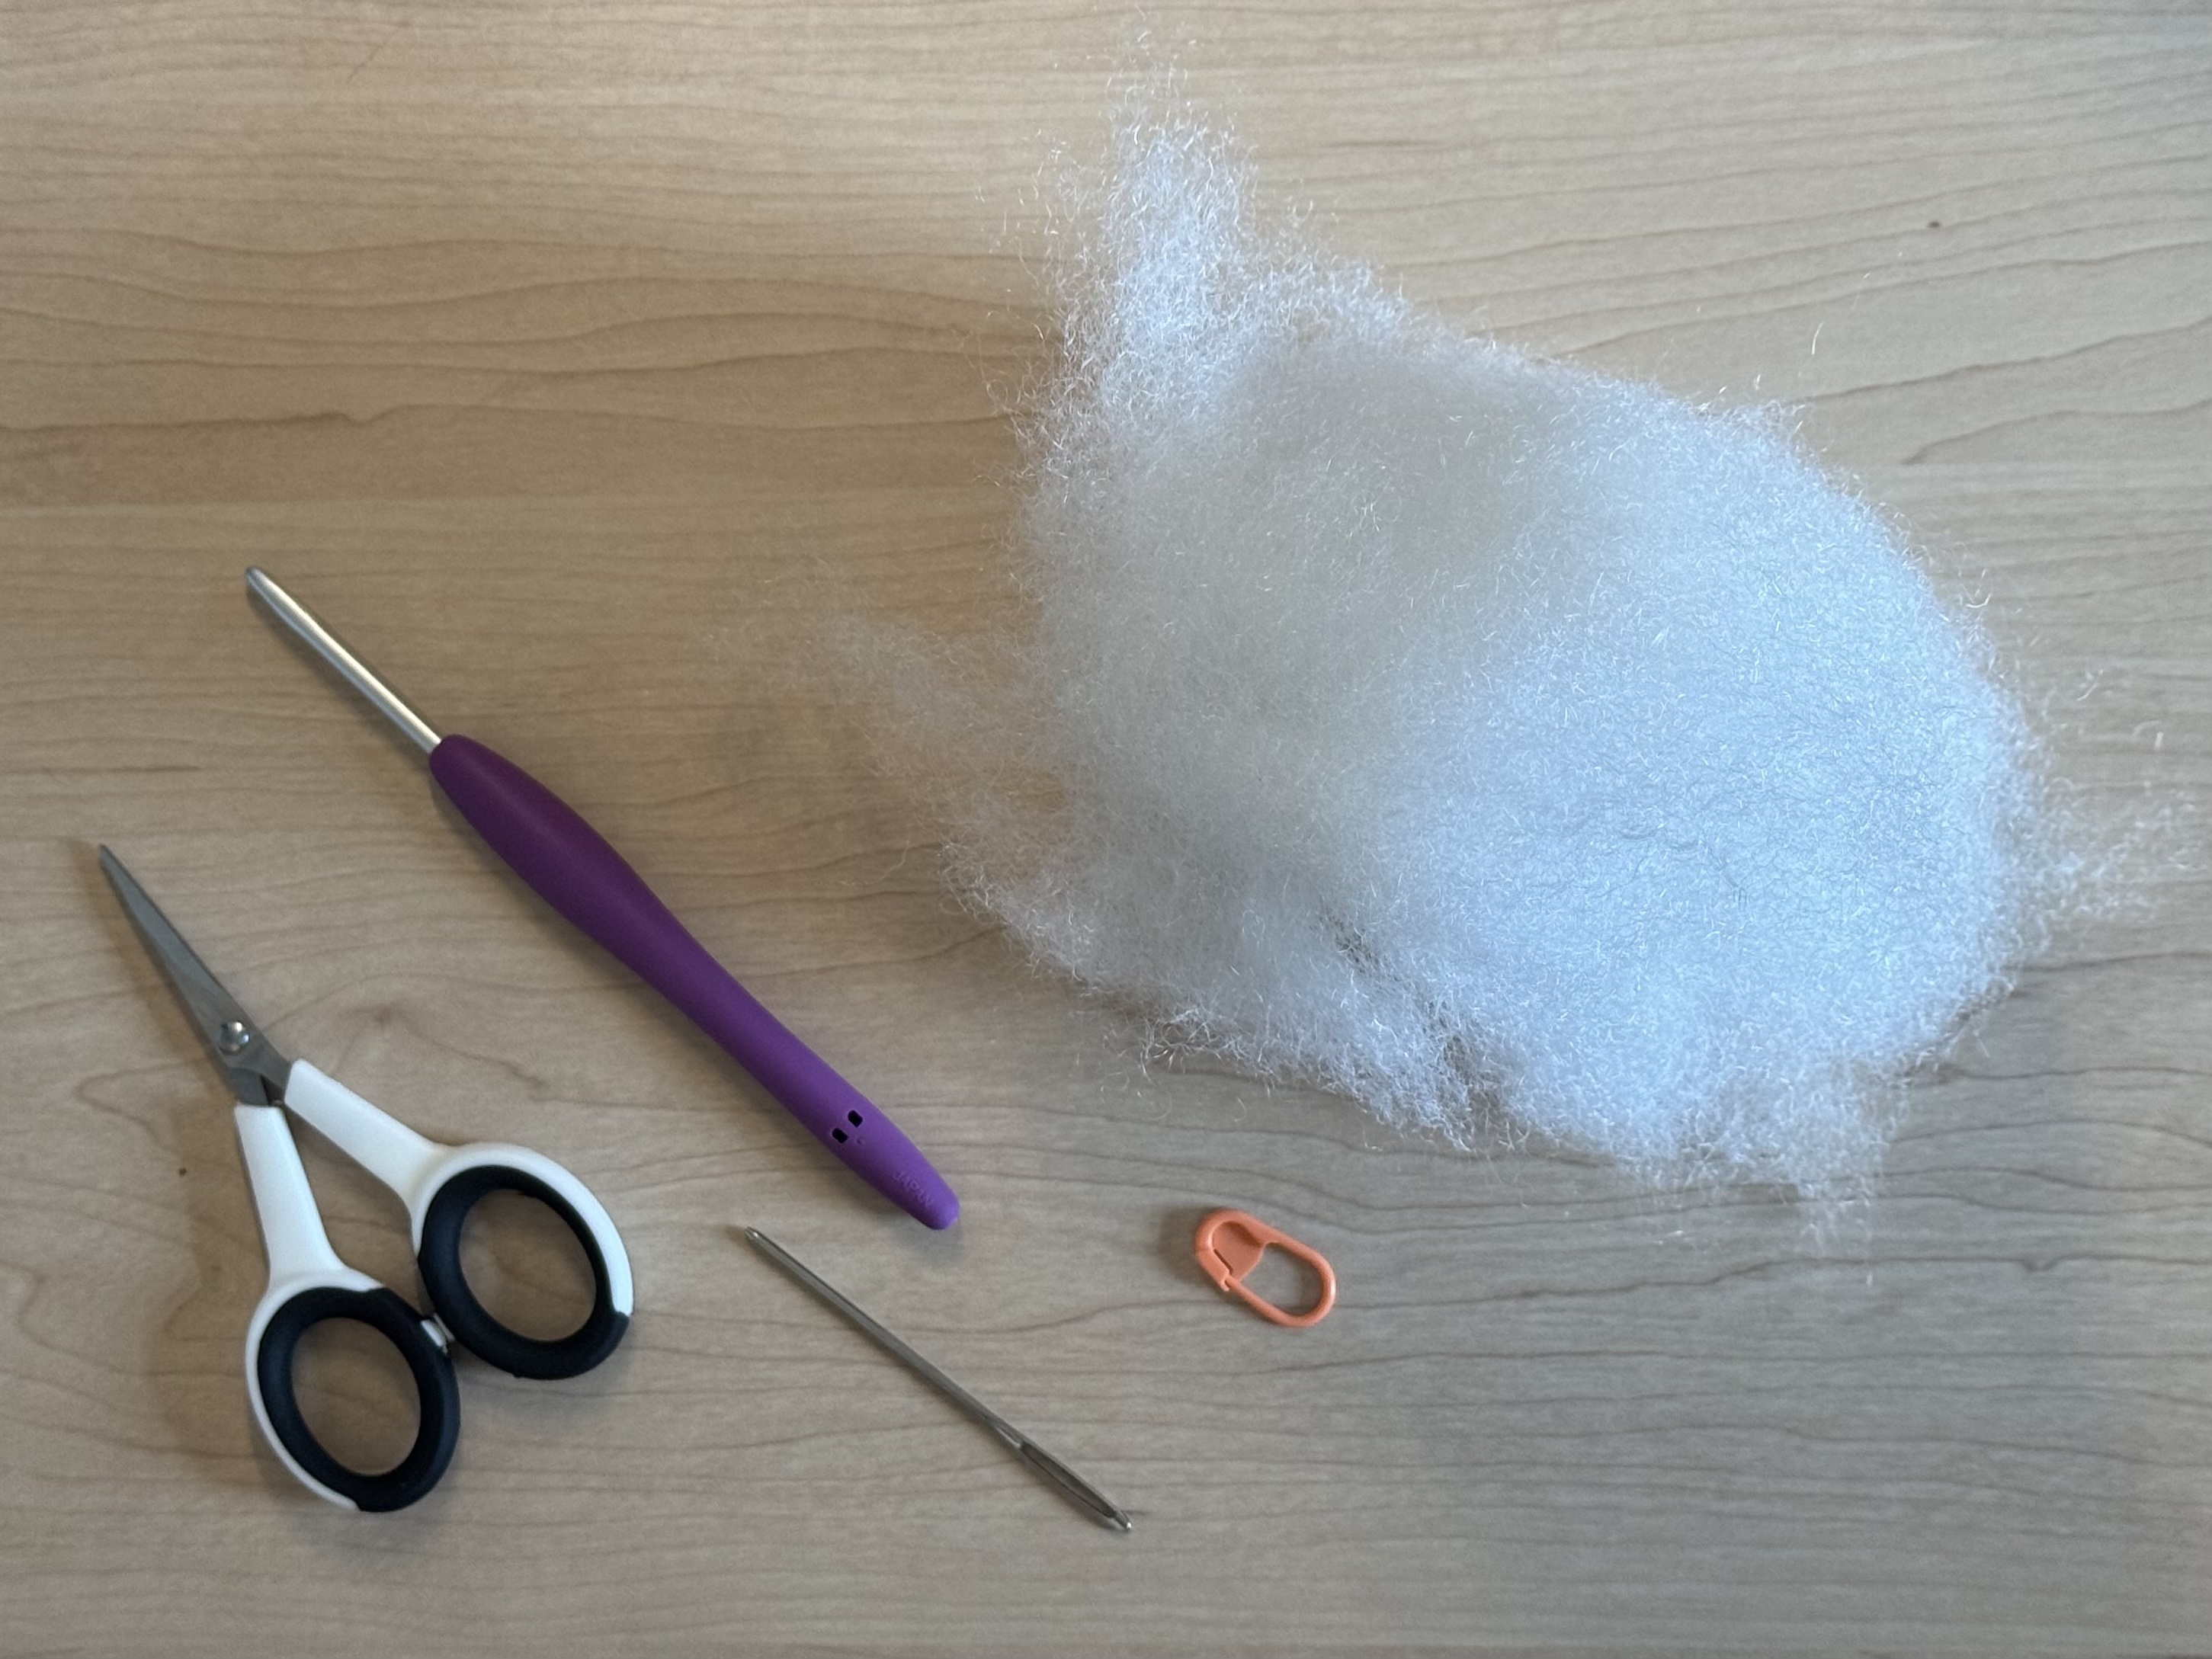
Tools & Materials
- Crochet hook size 4.0mm (US G/6): I like the Clover Amour, which can be found at most local craft stores and Michael's
- Scissors
- Tapestry needle
- Stitch marker
- Stuffing: I like to use polyester stuffing, but scrap yarn and other materials work
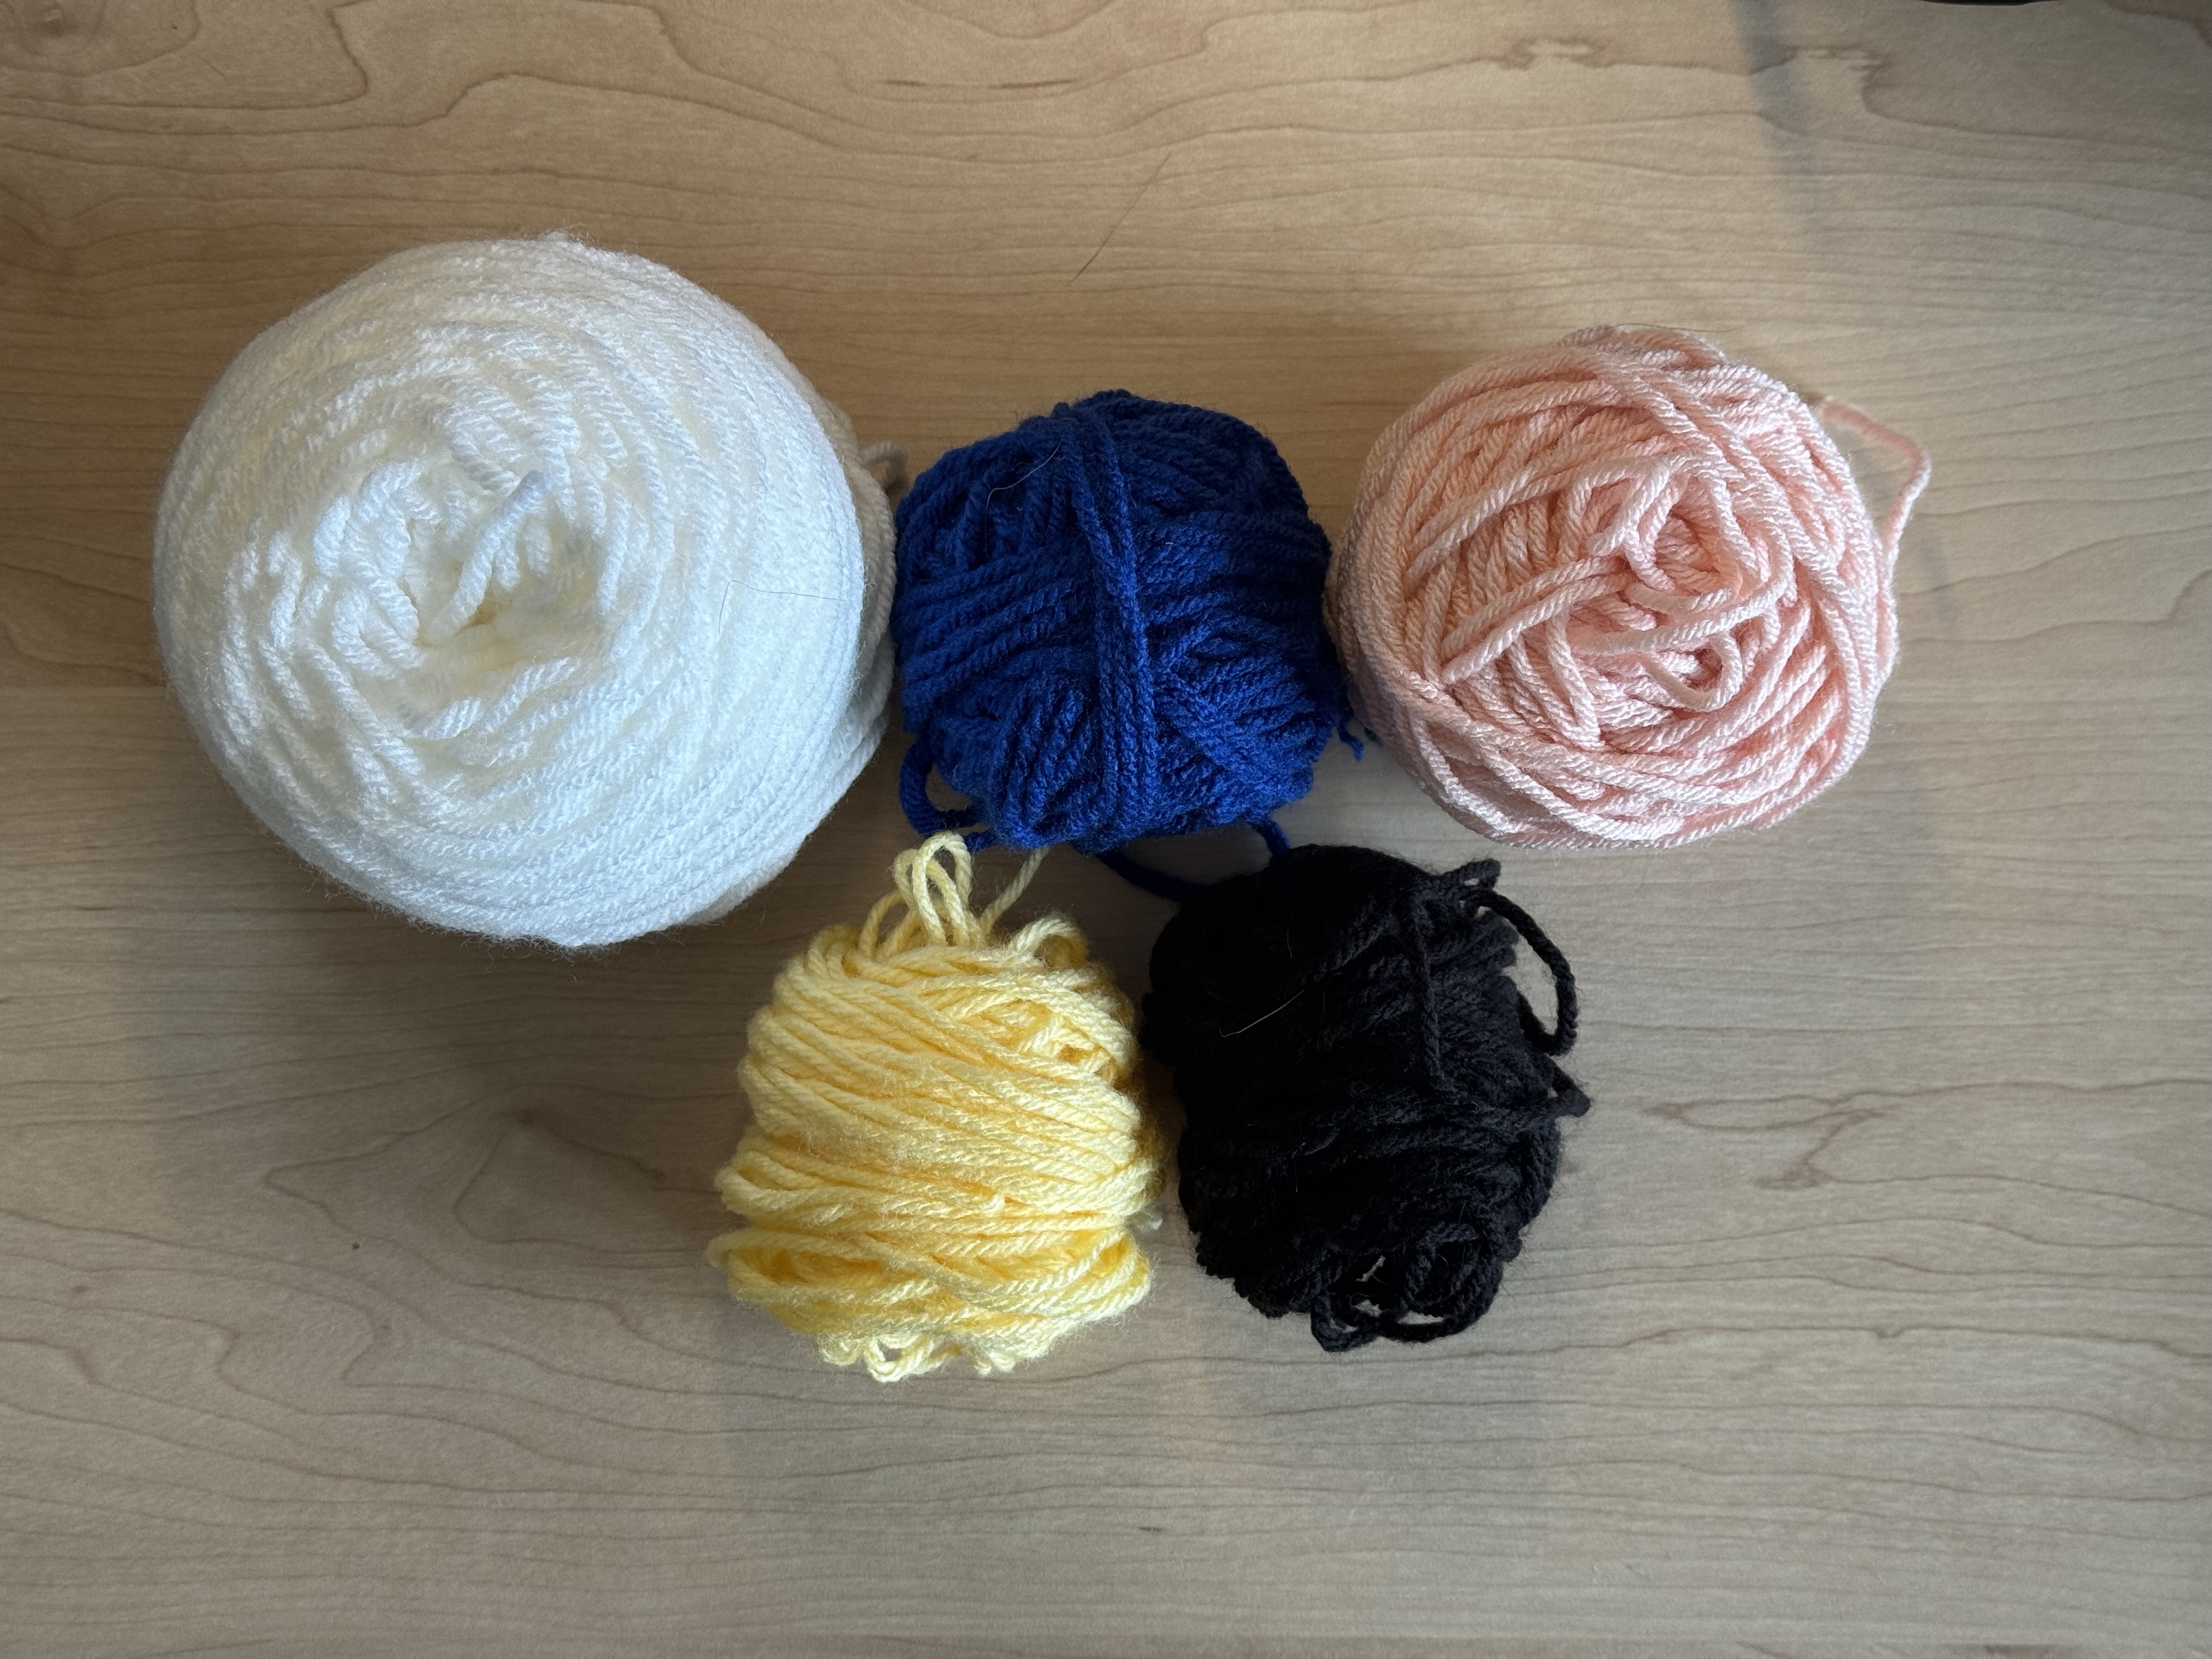
Yarn
Recommended: 4.0mm hook & worsted (4 / Medium) weight yarn
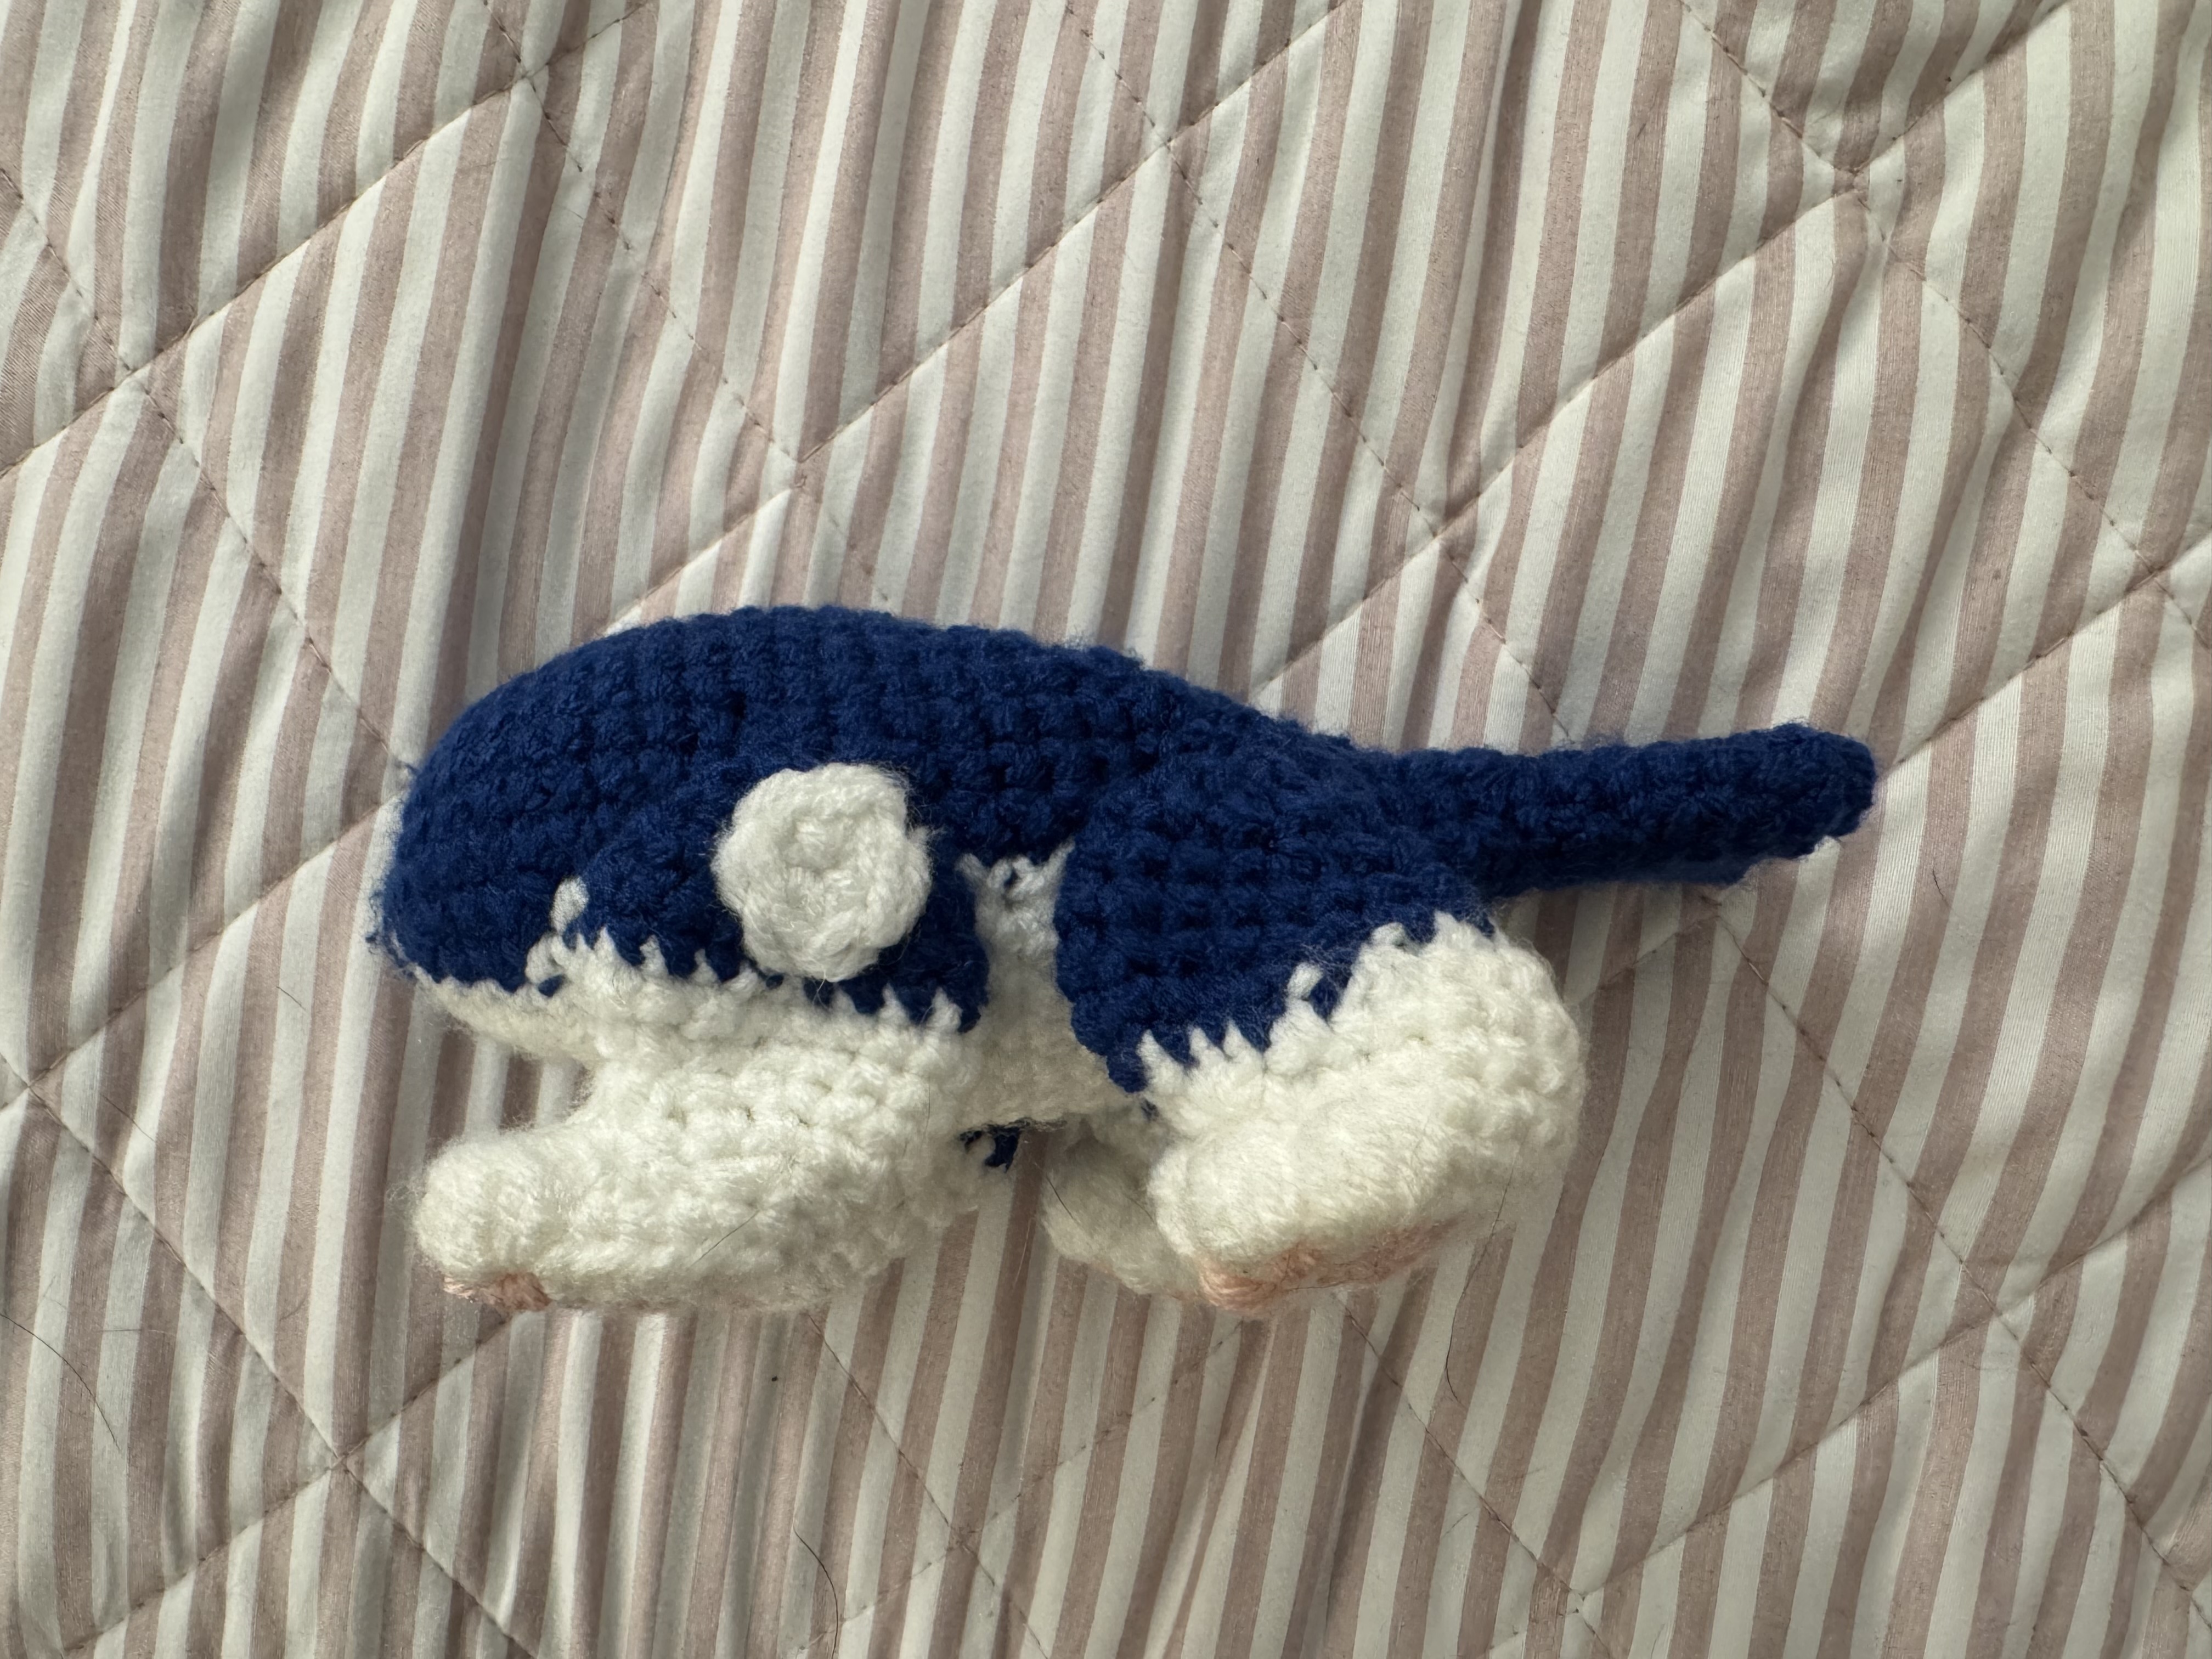
Using the following tools and yarns, I ended up with a plush approximately 7 inches in length, 4 inches tall, and 4 inches wide (17cm x 10cm x 10cm). Use whichever size of yarn you'd like, but it may end up larger or smaller. For amigurumi, I like to use a hook one size/1mm smaller than suggested on the yarn in order to get tight stitches.
I use the names of Michael's Impeccable yarn line because it's the most widespread in the US, and it's easy to get a sense for what the color should look like. Of course, please support your local yarn shops if that's an option available to you.
For body parts
- White
- Royal Blue - This is for the main palette for this skin. There are also 3 alternative palettes to try!
- Soft Rose
For sewing - You should only need a small amount of each. About 2 yards/meters.
- Black
- Butterscotch Yellow
Stitches
| Abbr. | Description |
|---|---|
| sl st | Slip stitch |
| sc | Single crochet |
| dc | Double crochet |
| inc | Increase - This pattern was written with invisible increases (where the first stitch is FLO) in mind, but normal increases work also |
| 3sc in 1 | 3 single crochets into the same stitch |
| 4sc in 1 | 4 single crochets into the same stitch |
| dec | Decrease - This pattern was written with invisible decreases in mind (where you yarn through the front loops of each of the two stitches, and single crochet them together), but normal decreases work also |
| sc3tog | Single crochet 3 together - I wouldn't recommend doing this "invisibly" |
| sc4tog | Single crochet 4 together |
| bo | Bobble stitch |
| BLO{X, Y, Z} | Back-loops only - Do the stitches "X, Y, Z" in back loops only |
| in same stitch{X, Y, Z} | Work each stitch "X, Y, Z" into the same stitch |
These stitches are in American Notation
Parts
| # | Part | |
|---|---|---|
| 1x | Body | |
| 2x | Front Legs | |
| 2x | Back Legs | |
| 1x | Dorsal Fin | |
| 2x | Eye Details | |
| 4x | Circle Details |
Body
- In blue: 6sc in a magic circle (6)
- white: 2sc, blue: inc, 2sc, inc
- white: 2inc, blue: 6inc (16)
- white: 2[sc, inc], blue: 4[sc, inc, sc] (22)
- white: 5sc, inc, blue: 2[7sc, inc] (25)
- white: 3sc, inc, 3sc, blue: 17sc, inc (27)
- white: 9sc, blue: 8sc, inc, 8sc, white: sc (28)
- 7sc, inc, 2sc, blue: 17sc, white: inc (30)
- sc, move the stitch counter as if this were the last stitch in row 8[1]
- 10sc, blue: 9sc, inc, 8sc, white: 2sc (31)
- 10sc, blue: 20sc, white: sc (31)
- 4sc, inc, 5sc, blue: 20sc, white: sc (32)
- 10sc blue: 22sc (32)
- white: 9sc, inc, blue: 10sc, dec, 10sc (32)
- white: 11sc, blue: 19sc, dec (31)
- white: sc, move the stitch counter[1]
- 5sc, inc, 5sc, blue: 20sc (32)
- white: 12sc, blue: 9sc, dec, 9sc (31)
- white: 12sc, blue: 17sc, dec (30)
- white: 11sc, inc, blue: 2[7sc, dec] (29)
- white: 13sc, blue: 7sc, dec, 7sc (28)
- white: 13sc, blue: 2[5sc, dec], sc (26)
- sc, move the stitch counter[1]
- white: 13sc, blue: 2[2sc, dec, 2sc], sc (24)
- white: 13sc, blue: 2[3sc, dec], sc (22)
- white: 13sc, blue: 2[sc, dec, sc], sc (20)
- sc, white: 11sc, blue: 6sc, dec (19)
- 2sc, white: 8sc, blue: sc, dec, 2sc, dec, 2sc (17)
- Stuff object
- 2sc, white: 3sc, dec, sc, blue: 7sc, dec (15)
- sc, move the stitch counter[1]
- sc, white: 3sc, (cut white) blue: 5sc, dec, 4sc (14)
- 4sc, dec, 4sc, 3inc, sc (16)
- 2dec, 4[sc, dec] (10)
- 5sc, 2sc, inc, 2sc (11)
- 2sc, move the stitch counter[1]
- 2sc, inc, 2sc, 5sc, inc (13)
- 5sc, inc, 7sc (14)
- 3sc, inc, 3sc, 3sc, inc, 3sc (16)
- 7sc, inc, 8sc (17)
- 7sc, dec, 8sc (16)
- Start right fin
- sc, skip 7, sc, and continue clockwise in the round, 7sc (9)
- 3[sc, dec] (6)
- sl st, finish off, and weave tail to close
Starting from the stitches skipped in row 41:
41b. inc, 7sc, inc (9)
42b. 3[sc, dec] (6)
43b. sl st, finish off, and weave tail to close
Front Legs
Make 2
- In pink: 6sc in a magic circle (6)
- white: 6inc (12)
- 2inc, 5[sc, inc] (19)
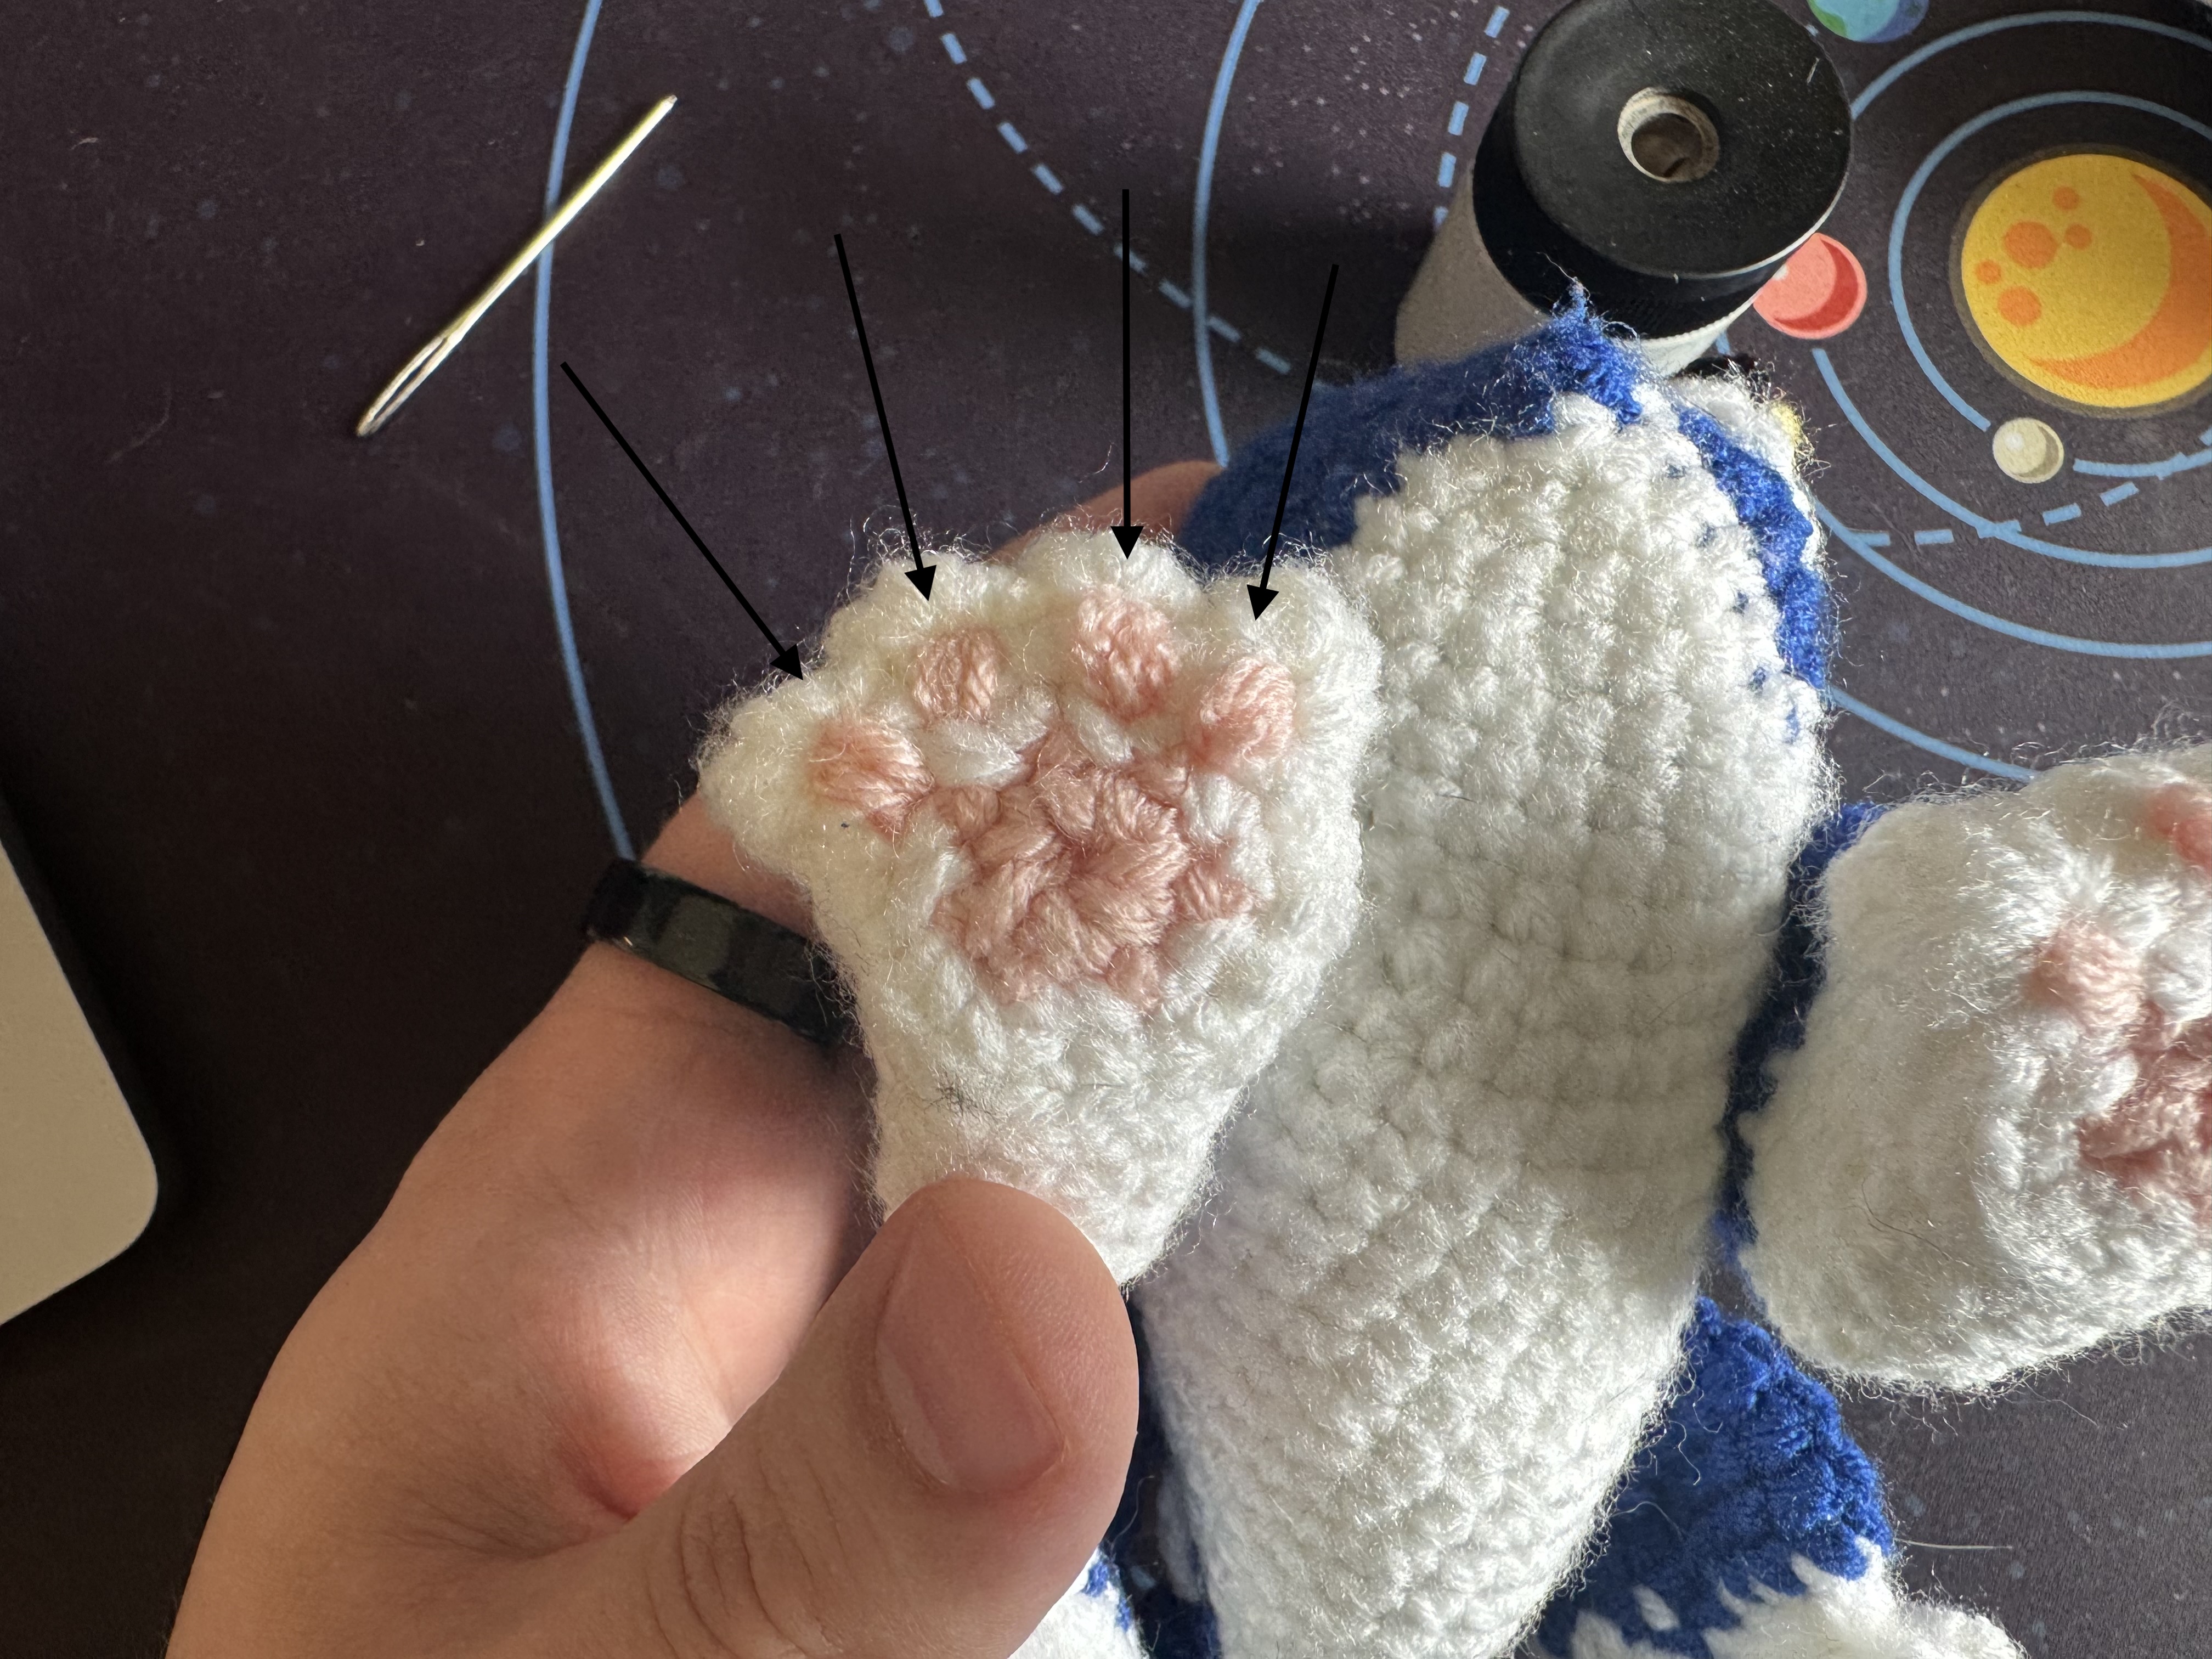
- BLO{ 2[sc, inc, sc], 3sc }, 4[ BLO{ sc }, bo ], BLO{ 2sc }
- When doing the bobble stitches, do them through both loops! These stitches will be the toes.
- 2[3sc, inc], 3[sc3tog], sc4tog (14)
- 2[2sc, inc, 2sc], 4sc (16)
- 2[5sc, inc], 2dec (16)
- 14sc, 2inc (18)
- 14sc, 2[sc, inc] (20)
- sc, move the stitch counter as if this were the last stitch in row 9[1]
- blue: 2[5sc, dec], 6sc (cut white) (18)
- 18sc (18)
- 2[2sc, dec, 2sc], 2[sc, dec] (14)
- Lightly stuff the bottom of the foot (not the leg)
- 2dec, 2[sc, dec], 2dec (8)
- 2[sc, dec, sc] (6)
- sl st, finish off, and weave tail to close
Back Legs
Make 2
- In pink: 6sc in a magic circle (6)
- blue: 6inc (12)
- 3[sc, inc], 2[2sc, inc] (17)
- BLO{ 2[2sc, inc], 3sc }, 4[bo, BLO{ sc }]
- When doing the bobble stitches, do them through both loops!
- 14sc, dec, sc3tog (16)
- 14sc, 2[4sc in 1] (22)
- 14sc, blue: 2[3sc, inc] (24)
- sc, white: sc, dec, 3sc, dec, 3sc, blue: dec, 10sc (cut white) (21)
- 5dec, 11sc (16)
- sc, move the stitch counter as if this were the last stitch in row 9[1]
- 16sc (16)
- 2[sc, dec], 4sc, dec, 4sc (13)
- Lightly stuff the bottom of the foot (not the leg)
- 2dec, 3[sc, dec] (8)
- 2[sc, dec, sc] (6)
- sl st, finish off, and weave tail to close
Dorsal Fin
- In blue: 6sc in a magic circle (6)
- 2inc, 2[sc, inc] (10)
- inc, 3sc in 1, 8sc (13)
- inc, 2[sc, inc], 8sc (16)
- 2[3sc, inc], 3sc, dec, 3sc (17)
- 9sc, inc, 5sc, dec (17)
- sl st and finish off, leaving a tail for sewing
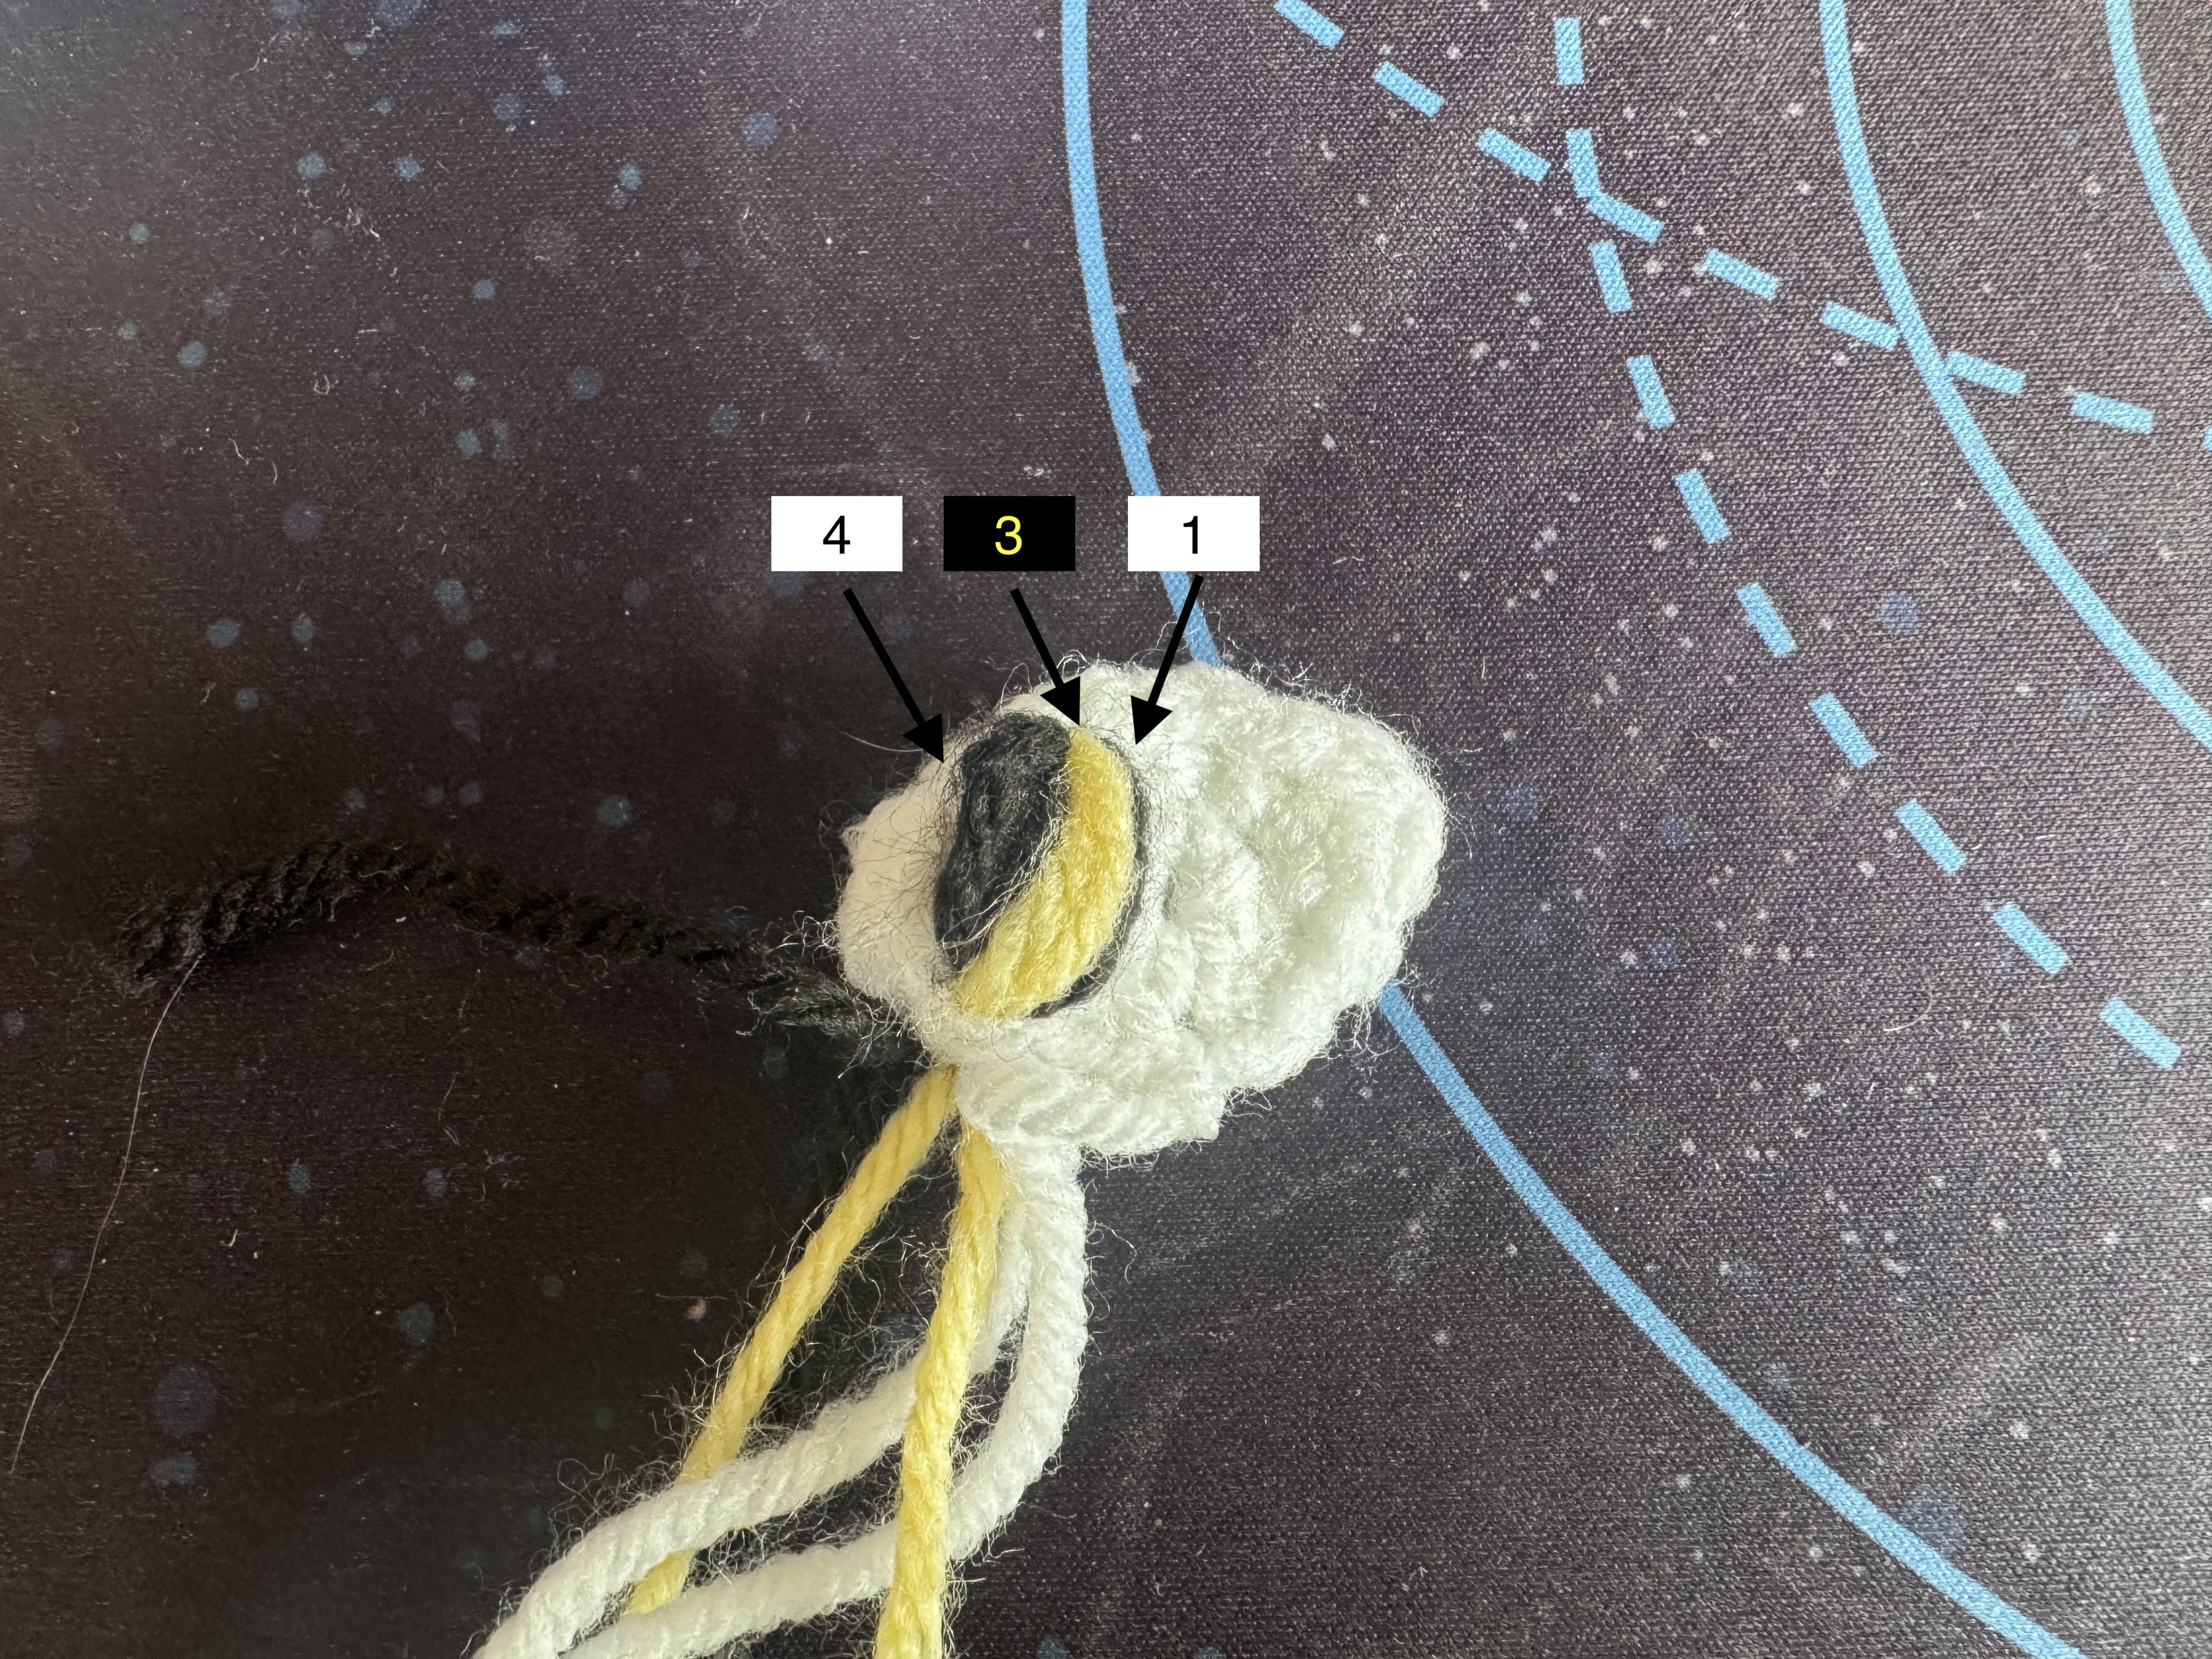
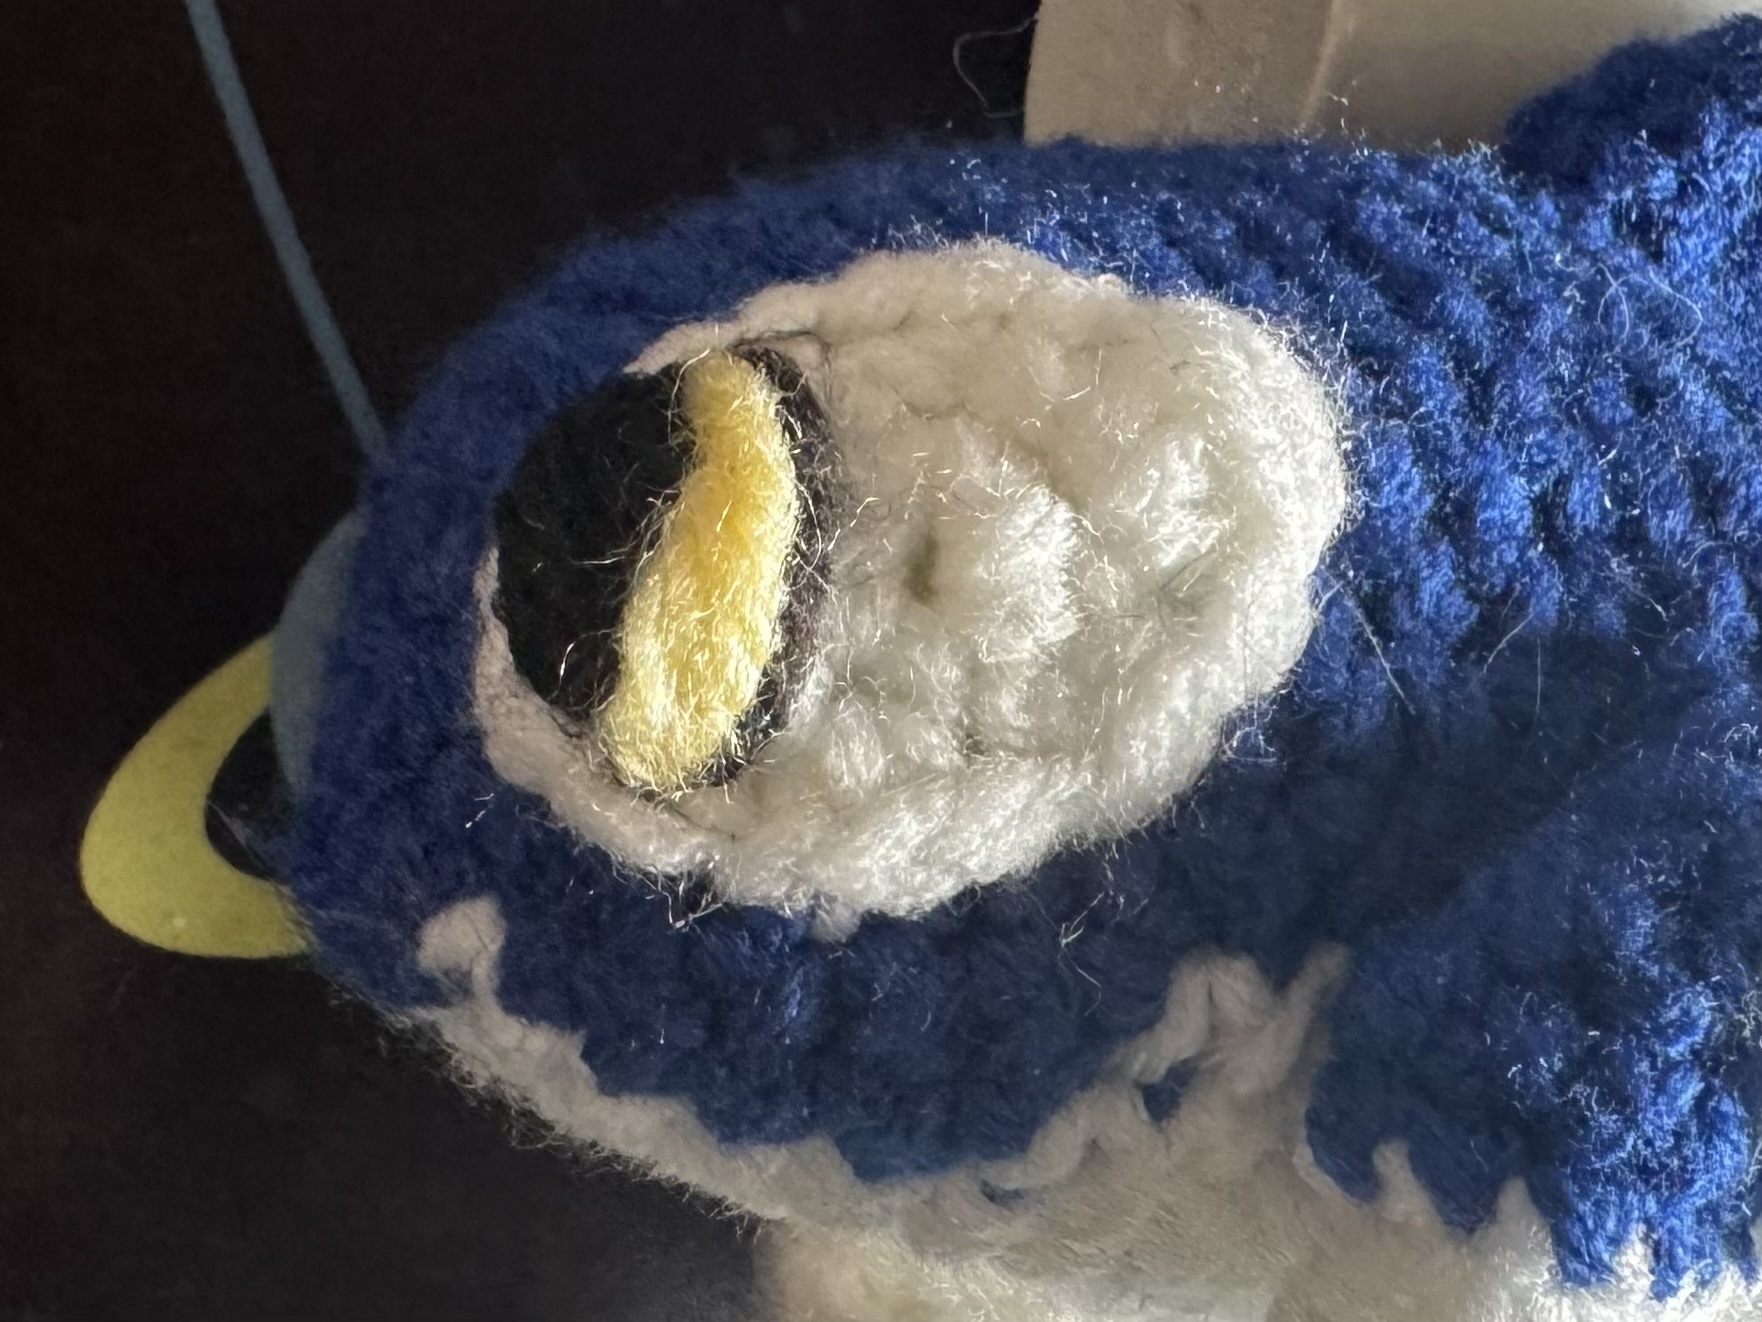
Eye Details
Make 2
- In white: 6sc in a magic circle (6)
- inc, in same stitch{sc, 2dc, sc}, 2inc, in same stitch{sc, 2dc, sc}, inc
- sl st and finish off, leaving a tail for sewing
Circle Details
Make 4
- In white: 6sc in a magic circle (6)
- sl st and finish off, leaving a tail for sewing
Assembly

Footnotes
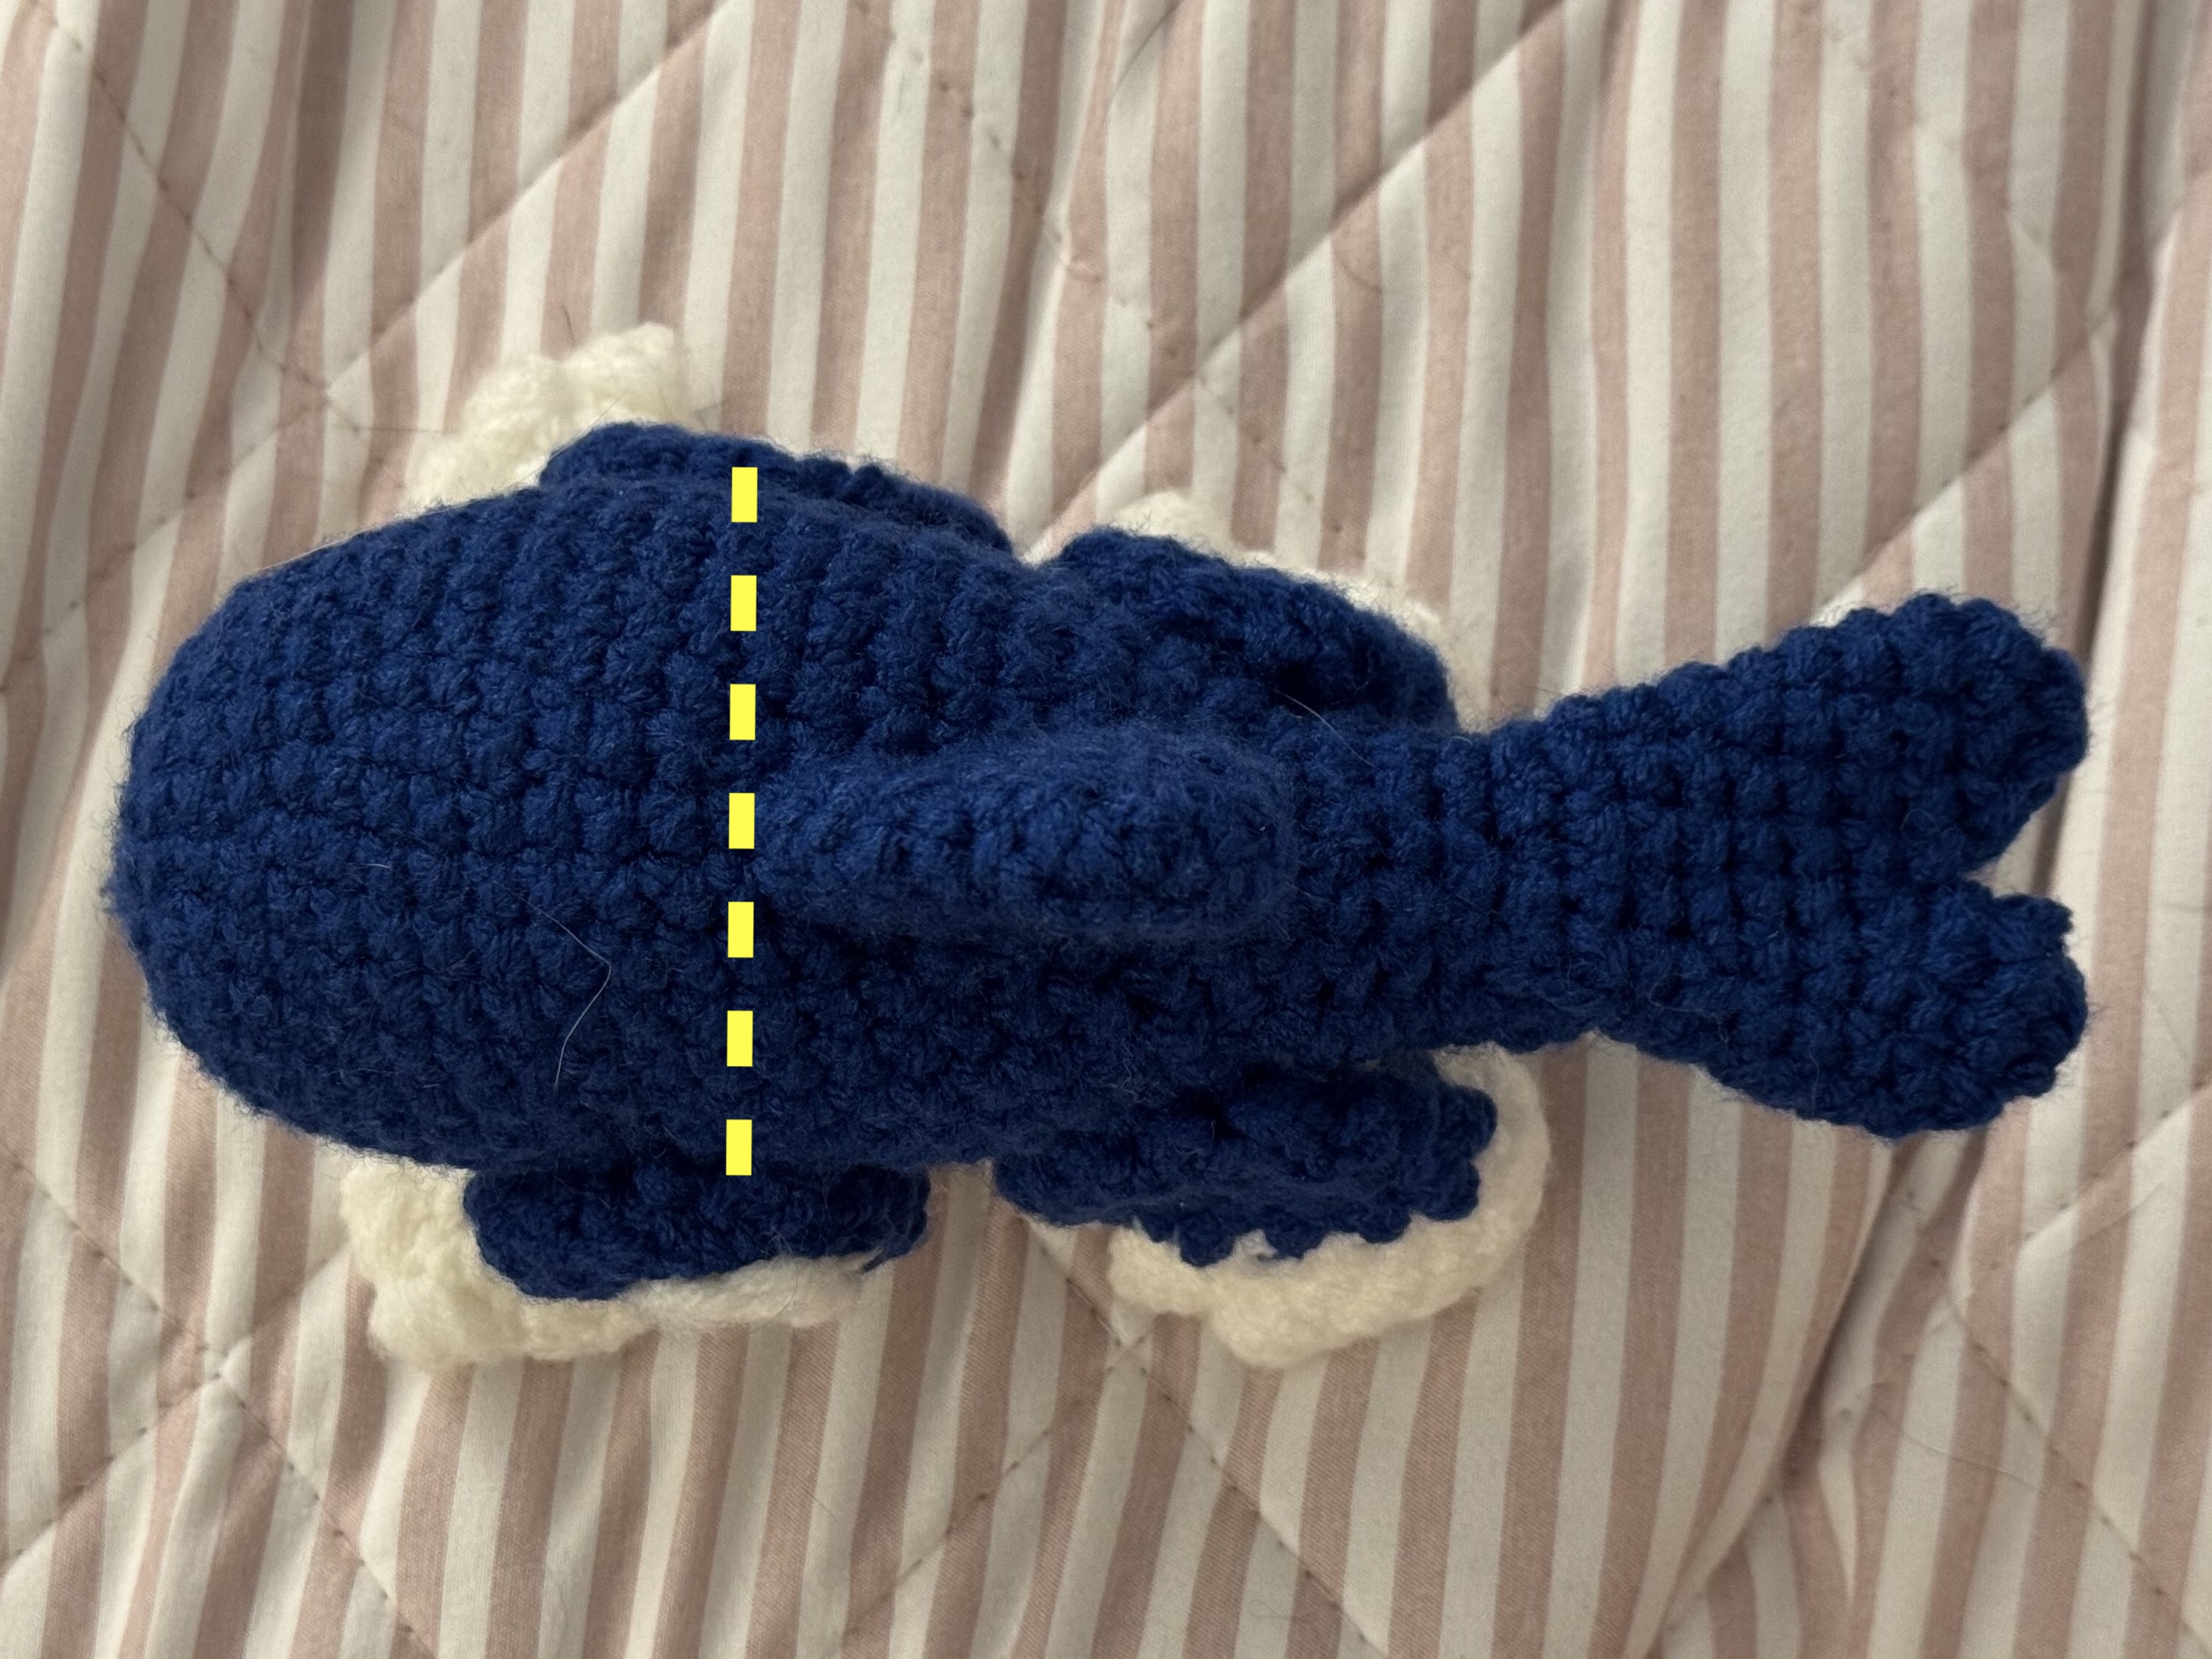
[1]
Most amigurumi tends to slowly spiral over time, and this can vary with tension, hook size, yarn size, etc. To keep each half of a shape even, for me it works best to add this "bonus stitch" every 6 rows. If your tension is higher, you could do this more often (every 5 or 4 rows). If your tension is looser, you could do this less often (every 7 to 8 rows). If you have perfect tension, you can omit this entirely.
What my tension looks like if the first stitch of each row is green